Grandma’s Perfect Homemade Bread
Description of this recipe:
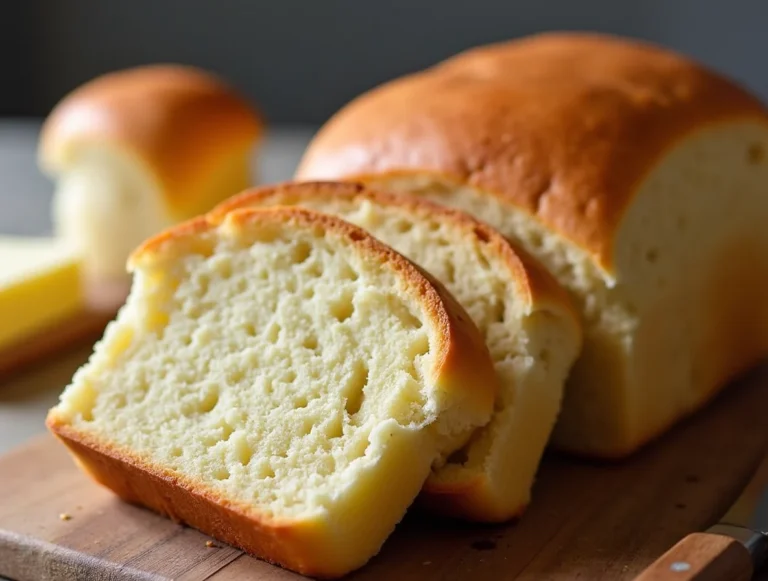
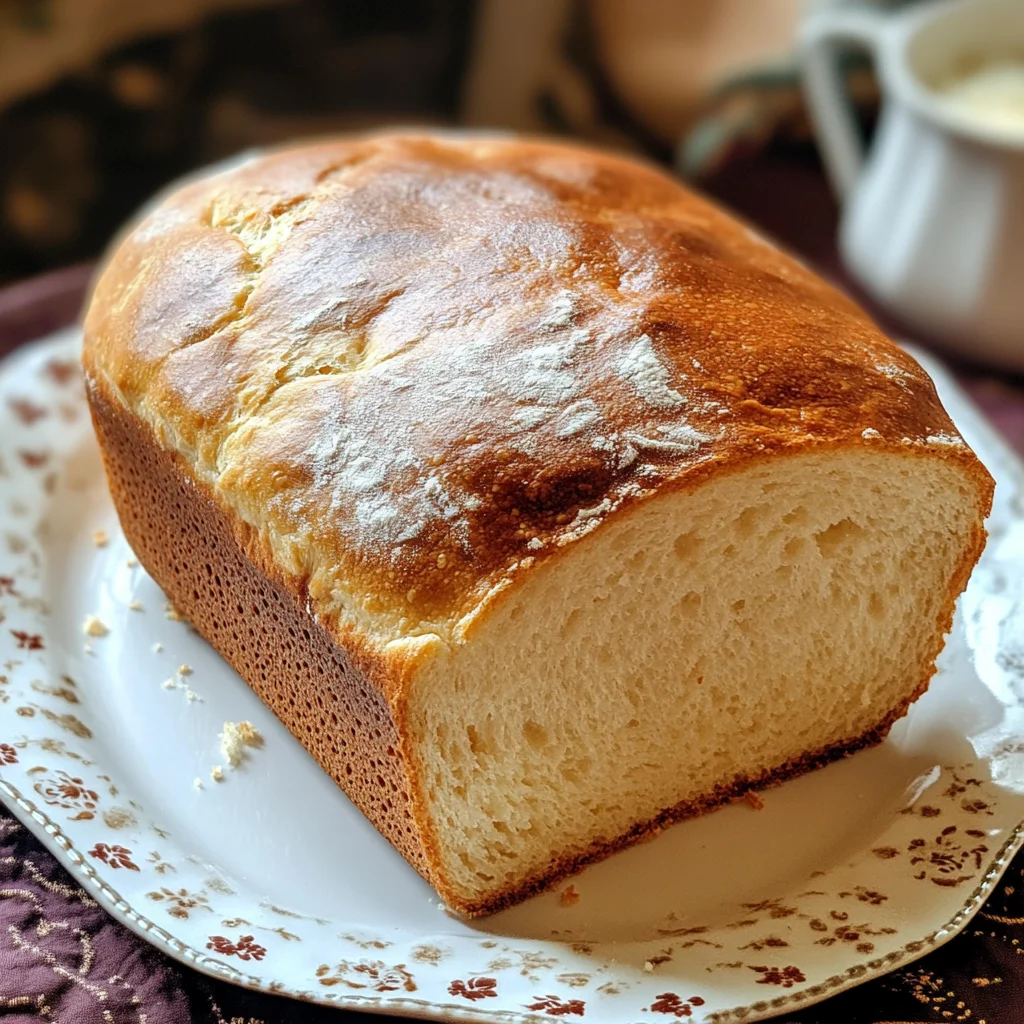
This recipe for Grandma’s Perfect Homemade Bread is a nostalgic journey into the heart of family kitchens. With its soft, fluffy texture and golden-brown crust, this bread is perfect for sandwiches, toast, or simply enjoying with butter.
Why you will love this recipe:
You will love this recipe because it combines simple, wholesome ingredients to create a delicious bread that fills your home with the comforting aroma of freshly baked goods. Whether you’re a seasoned baker or a novice in the kitchen, this recipe is easy to follow and yields impressive results that will have everyone asking for seconds.
Introduction
There’s something truly magical about the smell of freshly baked bread wafting through the house. It takes us back to simpler times, often reminding us of family gatherings and the warmth of Grandma’s kitchen. Homemade bread not only nourishes the body but also feeds the soul. This recipe for Grandma’s Perfect Homemade Bread is a cherished family secret that has been passed down through generations. With just a handful of ingredients and a little patience, you’ll create a loaf that is perfect for any occasion, whether it be a cozy family dinner or a festive holiday gathering.
Ingredients:
- 2 1/4 cups warm water
- 1/4 cup granulated sugar
- 1 tablespoon salt
- 2 1/4 teaspoons (1 packet) active dry yeast
- 2 tablespoons unsalted butter, melted
- 5 1/2 – 6 cups all-purpose flour
- 1 tablespoon vegetable oil (for greasing the bowl)
- 2 tablespoons butter, melted (for brushing)

Preparation:
Step 1: In a large mixing bowl, dissolve the active dry yeast in the warm water. Allow it to sit for about 5 minutes until it becomes foamy. This step is crucial as it activates the yeast, ensuring your bread rises beautifully.
Step 2: Once foamy, stir in the granulated sugar, salt, and melted butter. Mix these ingredients until they are well combined.
Step 3: Gradually add 3 cups of all-purpose flour to the mixture. Stir until the dough is smooth. The mixture will be quite wet at this point, but don’t worry; you will add more flour shortly.
Step 4: Slowly add the remaining flour, one cup at a time, mixing until the dough is soft but not sticky. You may not need to use all 6 cups, so add flour gradually until you achieve the right consistency.
Step 5: Turn the dough out onto a lightly floured surface and knead it for about 6-8 minutes. The goal is to develop the gluten in the dough, which will give your bread that perfect chewy texture. When you’re done kneading, the dough should be smooth and elastic.
Step 6: Place the kneaded dough in a greased bowl, cover it with a clean kitchen towel, and let it rise in a warm place for about 1 hour or until it has doubled in size.
Step 7: Once the dough has risen, punch it down to release the air. Divide the dough into two equal portions. Shape each portion into a loaf and place them in greased 9×5-inch loaf pans.
Step 8: Cover the loaves again and let them rise for an additional 30 minutes.
Step 9: Preheat your oven to 375°F (190°C).
Step 10: Bake the loaves in the preheated oven for 25-30 minutes or until they are golden brown and sound hollow when tapped on the bottom.
Step 11: As soon as they are out of the oven, brush the warm loaves with melted butter for a glossy finish. Allow them to cool on a wire rack before slicing.
COOKING Rating:
⭐⭐⭐⭐⭐ (5/5) – This recipe is beginner-friendly and delivers consistent, delicious results every time!
Serving Suggestions:
This homemade bread is incredibly versatile. Serve it warm with a pat of butter, slice it for sandwiches, or use it to soak up soups and stews. It also makes fantastic French toast or bread pudding if you have any leftovers!
Tips:
- Ensure your water is warm, not hot, as excessive heat can kill the yeast. Aim for about 110°F (43°C).
- For added flavor, consider incorporating herbs or spices into the dough, such as garlic powder or rosemary.
- If you live in a cooler climate, you can create a warm environment for rising by placing the dough in an oven that is turned off but has the light on.
- Store any leftover bread in an airtight container to keep it fresh for longer. You can also freeze the loaves for up to three months.
Prep Time: 15 minutes
Rise Time: 1.5 hours
Bake Time: 30 minutes
Total Time: 2 hours 15 minutes
Nutritional Information:
- Calories: 160 kcal per slice
- Protein: 5g
- Sodium: 150mg
Conclusion
Baking bread at home is a rewarding experience that fills your kitchen with warmth and delightful aromas. Grandma’s Perfect Homemade Bread is not just a recipe; it’s a tradition that brings families together. With this easy-to-follow guide, you can create a loaf that is sure to impress. So roll up your sleeves, gather your ingredients, and embark on this baking adventure. Your family will thank you!
Questions and Answers:
- Can I use whole wheat flour instead of all-purpose flour?
Yes, you can substitute whole wheat flour for all-purpose flour, but you may need to adjust the liquid slightly, as whole wheat flour absorbs more moisture. - What should I do if my dough doesn’t rise?
If your dough doesn’t rise, it could be due to inactive yeast. Make sure your yeast is fresh and that the water temperature is warm enough to activate it. - How can I tell when the bread is done baking?
The bread is done when it is golden brown on top and sounds hollow when tapped on the bottom. You can also use a thermometer; the internal temperature should be around 190°F (88°C). - Can I add ingredients like cheese or herbs to the dough?
Absolutely! You can mix in shredded cheese, herbs, or even nuts and dried fruits to customize your bread to your liking. - How should I store the bread?
Store the bread in an airtight container at room temperature for up to 3 days. For longer storage, wrap it tightly in plastic wrap and freeze it for up to 3 months.