Honey Garlic Chicken
Description of this recipe
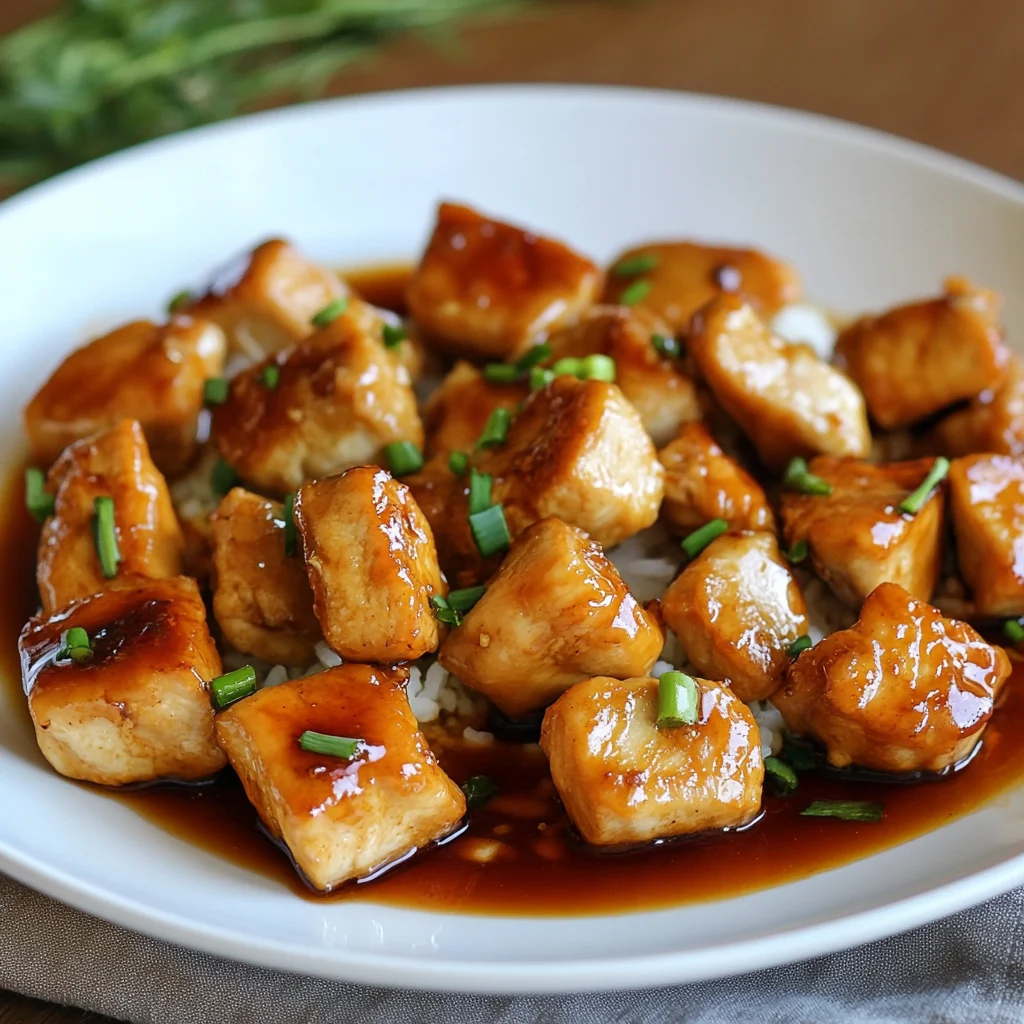
This Honey Garlic Chicken is a culinary symphony of sweet, savory, and slightly spicy flavors. Tender chicken pieces are coated in a glistening, irresistible sauce made with honey, garlic, soy sauce, and a touch of sriracha. It’s a quick and easy weeknight meal that will have everyone asking for seconds! This recipe takes readily available ingredients and transforms them into a restaurant-quality dish in under 30 minutes.
Why you will love this recipe
You’ll absolutely adore this Honey Garlic Chicken because it’s:
- Incredibly flavorful: The balance of sweet honey, savory garlic, salty soy sauce, and a hint of heat from the sriracha creates a truly unforgettable taste experience.
- Quick and Easy: From prep to plate, this dish comes together in less than 30 minutes, making it perfect for busy weeknights.
- Versatile: Serve it over rice, noodles, quinoa, or alongside roasted vegetables for a complete and satisfying meal.
- Kid-Friendly: The sweet and savory flavor profile is a hit with both kids and adults. You can easily adjust the amount of sriracha to control the spice level.
- Budget-Friendly: Made with readily available and affordable ingredients, this recipe is a delicious way to feed your family without breaking the bank.
Introduction
Honey Garlic Chicken is a classic dish that has captured hearts (and stomachs) around the world. Its simple yet satisfying combination of flavors makes it a popular choice for both home cooks and restaurant chefs. This recipe builds on the traditional foundation, using simple techniques to bring out the best in each ingredient. We’ll start by preparing the chicken, ensuring it’s tender and juicy. Then, we’ll whip up the star of the show: the honey garlic sauce. Finally, we’ll combine the two for a truly unforgettable culinary experience. This recipe is designed to be easily replicated, even for beginner cooks, with detailed instructions and helpful tips along the way. Get ready to impress your family and friends with this delicious and effortless Honey Garlic Chicken!
Ingredients:
Sauce
- 1/3 cup honey
- 2 Tbsp soy sauce
- 1 Tbsp rice vinegar
- 1 tsp sriracha
- 2 tsp toasted sesame oil
- 1 Tbsp cornstarch
Chicken
- 2 boneless, skinless chicken breasts
- 1 tsp salt
- 1/2 tsp black pepper
- 1/2 tsp garlic powder
- 2 Tbsp all-purpose flour
- 3 Tbsp olive oil
- 2 Tbsp butter
- 4 cloves of garlic, minced
- 2 green onions, sliced

Preparation:
Step 1: Prepare the Chicken: Cut the chicken breasts into 1-inch cubes. This helps them cook quickly and evenly while maximizing the surface area for the sauce to cling to. In a medium bowl, combine the cubed chicken with salt, pepper, and garlic powder. Toss well to ensure the chicken is evenly coated with the seasonings. This initial seasoning is crucial for building flavor right from the start.
Step 2: Dredge the Chicken: Place the all-purpose flour in a shallow dish. Dredge the seasoned chicken pieces in the flour, shaking off any excess. The flour coating helps the chicken develop a nice, golden-brown crust when cooked, and it also acts as a thickener for the sauce.
Step 3: Make the Honey Garlic Sauce: In a small bowl, whisk together the honey, soy sauce, rice vinegar, sriracha, toasted sesame oil, and cornstarch. The cornstarch is the key ingredient that will thicken the sauce to that glossy, irresistible consistency we’re looking for. Set the sauce aside for now.
Step 4: Cook the Chicken: Heat the olive oil and butter in a large skillet over medium-high heat. Once the oil is hot and the butter is melted, add the dredged chicken to the skillet in a single layer. Avoid overcrowding the pan, as this will lower the temperature and prevent the chicken from browning properly. Cook the chicken for 5-7 minutes, or until it is golden brown on all sides and cooked through.
Step 5: Combine and Glaze: Reduce the heat to medium. Add the minced garlic to the skillet and cook for about 30 seconds, or until fragrant, being careful not to burn it. Pour the honey garlic sauce over the chicken and garlic. Stir constantly until the sauce thickens and glazes the chicken, about 2-3 minutes. The sauce should become a rich, glossy coating that clings to the chicken pieces.
Step 6: Garnish and Serve: Remove the skillet from the heat and garnish with sliced green onions. Serve immediately over rice, noodles, or your favorite side dish.
COOKING Rating:
- Ease of Preparation: 5/5 (Very Easy)
- Flavor Complexity: 4/5 (Well-Balanced)
- Likelihood of Success: 5/5 (Almost Foolproof)
- Overall Rating: 4.8/5 (Highly Recommended)
Serving Suggestions:
- Over Rice: Serve the Honey Garlic Chicken over a bed of fluffy white rice, brown rice, or jasmine rice to soak up all that delicious sauce.
- With Noodles: Toss the chicken with cooked egg noodles, udon noodles, or soba noodles for a satisfying and comforting meal.
- Alongside Vegetables: Pair the chicken with steamed broccoli, roasted asparagus, stir-fried bell peppers, or a simple green salad for a balanced meal.
- In Lettuce Wraps: For a lighter option, serve the chicken in crisp lettuce wraps, topped with shredded carrots, chopped peanuts, and a drizzle of extra sauce.
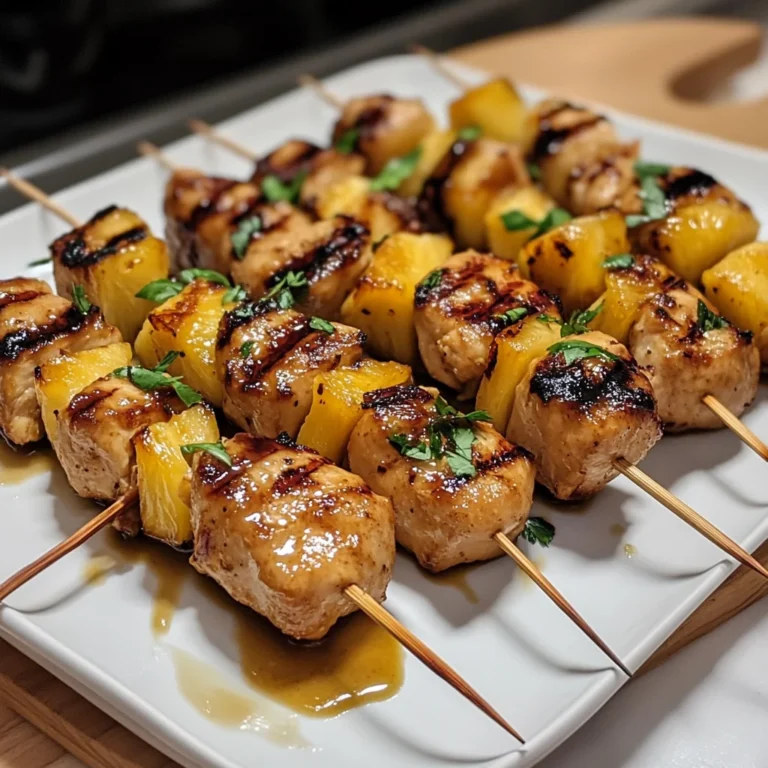
- As an Appetizer: Serve smaller portions of the chicken on skewers as a tasty appetizer for parties or gatherings.
Tips:
- Don’t Overcrowd the Pan: When cooking the chicken, make sure to do it in batches if necessary to avoid overcrowding the pan. Overcrowding will lower the temperature and prevent the chicken from browning properly.
- Adjust the Spice Level: If you prefer a milder flavor, reduce the amount of sriracha or omit it altogether. For a spicier kick, add a pinch of red pepper flakes.
- Use Fresh Garlic: Freshly minced garlic provides the best flavor for the sauce. Avoid using pre-minced garlic, which can often have a less potent and slightly bitter taste.
- Toast the Sesame Oil: Using toasted sesame oil adds a deeper, richer flavor to the sauce. If you don’t have toasted sesame oil, you can toast regular sesame oil in a dry skillet over low heat for a few minutes until fragrant.
- Customize with Vegetables: Feel free to add your favorite vegetables to the skillet along with the chicken, such as bell peppers, onions, or mushrooms.
- Make it Ahead: The honey garlic sauce can be made ahead of time and stored in an airtight container in the refrigerator for up to 3 days.
Prep Time: 10 minutes
Cook Time: 18 minutes
Total Time: 28 minutes
Nutritional Information:
(Estimated, per serving)
- Calories: 450
- Protein: 35g
- Sodium: 700mg
Conclusion
Honey Garlic Chicken is a guaranteed crowd-pleaser that’s perfect for any occasion. Its irresistible combination of sweet, savory, and slightly spicy flavors makes it a dish that you’ll want to make again and again. This recipe is simple, quick, and versatile, making it a great option for busy weeknights or weekend gatherings. So gather your ingredients, follow the steps, and get ready to enjoy a delicious and satisfying meal!
Q&A: Honey Garlic Chicken Edition
Q1: Can I use chicken thighs instead of chicken breasts?
A1: Absolutely! Chicken thighs are a great alternative to chicken breasts. They tend to be more flavorful and stay juicier during cooking. Just be sure to trim any excess fat before cutting them into cubes. The cooking time might need to be adjusted slightly, so ensure the chicken is cooked through before adding the sauce.
Q2: What if I don’t have rice vinegar? Can I substitute it with something else?
A2: Yes, you can substitute rice vinegar with other types of vinegar. White wine vinegar or apple cider vinegar are good alternatives. If you don’t have any vinegar on hand, you can use a squeeze of lemon or lime juice for a similar tangy flavor.
Q3: Can I make this recipe gluten-free?
A3: Yes, you can easily make this recipe gluten-free. Simply substitute the all-purpose flour with a gluten-free all-purpose flour blend, and make sure to use tamari instead of soy sauce, as tamari is a gluten-free alternative. Also, double-check the label of your sriracha to ensure it’s gluten-free.
Q4: How long can I store leftovers?
A4: Leftover Honey Garlic Chicken can be stored in an airtight container in the refrigerator for up to 3-4 days. To reheat, you can microwave it, but for the best results, reheat it in a skillet over medium heat until warmed through. Add a splash of water or chicken broth if the sauce has thickened too much.
Q5: Can I add vegetables to this recipe? If so, what kind of vegetables would you recommend?
A5: Absolutely! Adding vegetables is a great way to make this dish even more nutritious and flavorful. Some vegetables that would pair well with Honey Garlic Chicken include bell peppers (red, yellow, or orange), broccoli florets, sliced carrots, snap peas, mushrooms, and onions. Simply add the vegetables to the skillet along with the minced garlic, and cook until they are tender-crisp before adding the sauce.
Honey Garlic Chicken
Ingredients
- Sauce
- 1/3 cup honey
- 2 Tbsp soy sauce
- 1 Tbsp rice vinegar
- 1 tsp sriracha
- 2 tsp toasted sesame oil
- 1 Tbsp cornstarch
- Chicken
- 2 boneless skinless chicken breasts
- 1 tsp salt
- 1/2 tsp black pepper
- 1/2 tsp garlic powder
- 2 Tbsp all-purpose flour
- 3 Tbsp olive oil
- 2 Tbsp butter
- 4 cloves of garlic minced
- 2 green onions sliced
Instructions
- Step 1: Prepare the Chicken: Cut the chicken breasts into 1-inch cubes. This helps them cook quickly and evenly while maximizing the surface area for the sauce to cling to. In a medium bowl, combine the cubed chicken with salt, pepper, and garlic powder. Toss well to ensure the chicken is evenly coated with the seasonings. This initial seasoning is crucial for building flavor right from the start.
- Step 2: Dredge the Chicken: Place the all-purpose flour in a shallow dish. Dredge the seasoned chicken pieces in the flour, shaking off any excess. The flour coating helps the chicken develop a nice, golden-brown crust when cooked, and it also acts as a thickener for the sauce.
- Step 3: Make the Honey Garlic Sauce: In a small bowl, whisk together the honey, soy sauce, rice vinegar, sriracha, toasted sesame oil, and cornstarch. The cornstarch is the key ingredient that will thicken the sauce to that glossy, irresistible consistency we’re looking for. Set the sauce aside for now.
- Step 4: Cook the Chicken: Heat the olive oil and butter in a large skillet over medium-high heat. Once the oil is hot and the butter is melted, add the dredged chicken to the skillet in a single layer. Avoid overcrowding the pan, as this will lower the temperature and prevent the chicken from browning properly. Cook the chicken for 5-7 minutes, or until it is golden brown on all sides and cooked through.
- Step 5: Combine and Glaze: Reduce the heat to medium. Add the minced garlic to the skillet and cook for about 30 seconds, or until fragrant, being careful not to burn it. Pour the honey garlic sauce over the chicken and garlic. Stir constantly until the sauce thickens and glazes the chicken, about 2-3 minutes. The sauce should become a rich, glossy coating that clings to the chicken pieces.
- Step 6: Garnish and Serve: Remove the skillet from the heat and garnish with sliced green onions. Serve immediately over rice, noodles, or your favorite side dish.

