Easter Rice Krispie Treats
Description of this recipe:
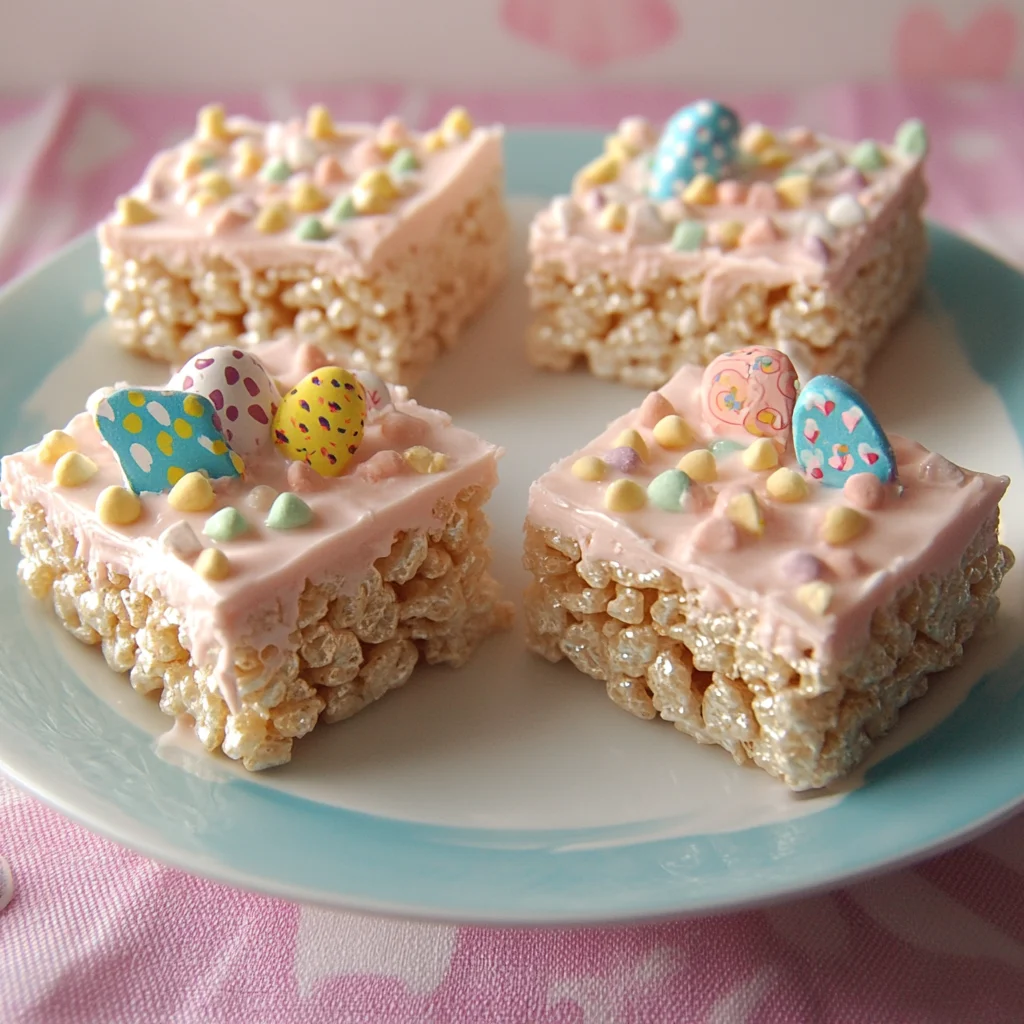
These Easter Rice Krispie Treats are a delightful twist on a classic no-bake dessert. They offer a perfect blend of crispy cereal, gooey marshmallow, and festive Easter candies, making them an irresistible treat for both kids and adults alike. This recipe is incredibly easy to follow and allows for plenty of creative customization, ensuring that your treats are not only delicious but also visually stunning.
Why you will love this recipe:
You’ll adore these Easter Rice Krispie Treats for several reasons:
- Effortless Elegance: They require no baking, making them a perfect last-minute dessert option.
- Customizable Canvas: You can tailor the colors, candies, and decorations to match your Easter theme or personal preferences.
- Kid-Friendly Fun: They are an enjoyable activity to make with children, fostering creativity and delicious memories.
- Perfect for Sharing: They are ideal for Easter parties, potlucks, or as thoughtful gifts.
- A Nostalgic Delight: They evoke a sense of childhood nostalgia with a festive twist.
Introduction:
Easter is a time for celebration, joy, and of course, delicious treats! While elaborate cakes and intricate desserts have their place, sometimes the simplest options are the most satisfying. These Easter Rice Krispie Treats are the embodiment of simple satisfaction. They take the beloved classic Rice Krispie Treat and elevate it with festive colors, delightful textures, and the irresistible allure of Easter candies.
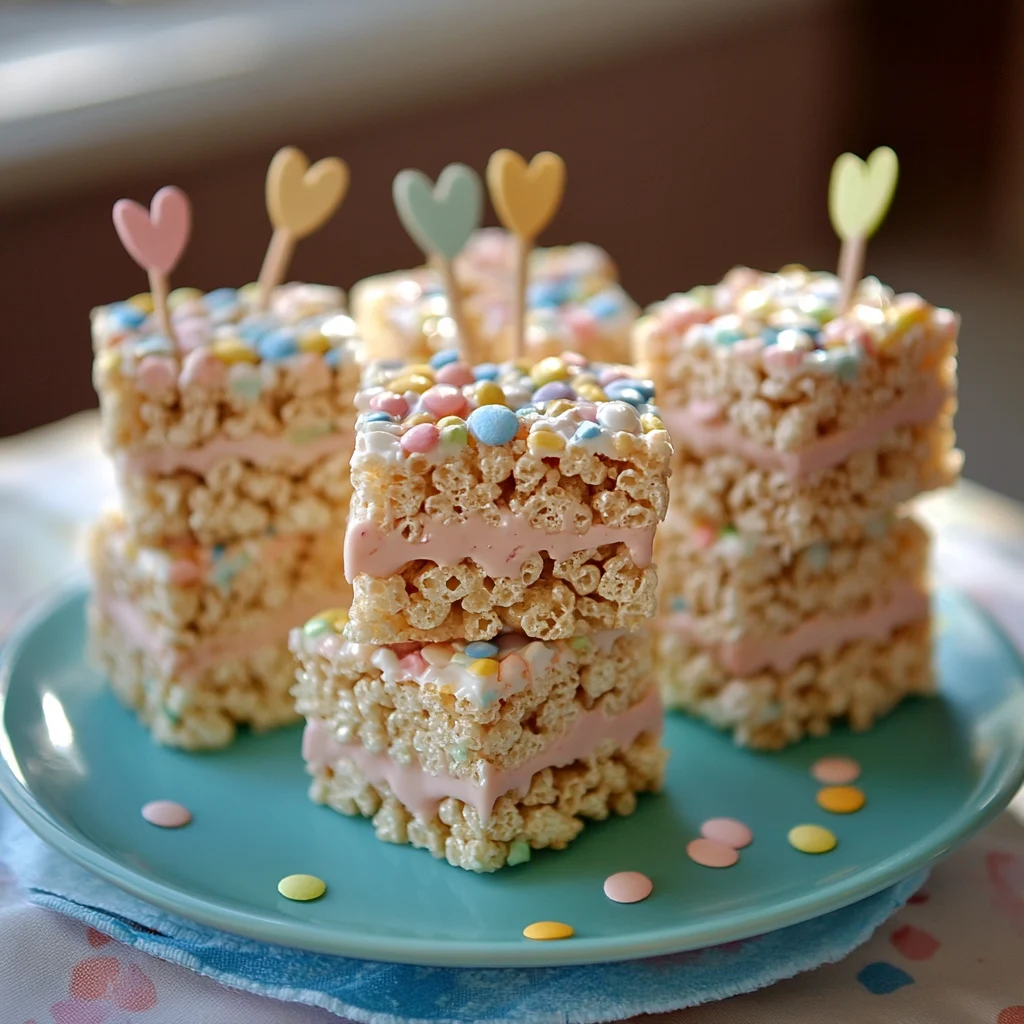
Imagine the smiles on the faces of your loved ones as they bite into these colorful bars, experiencing the perfect harmony of crispy cereal, sweet marshmallow, and the satisfying crunch of mini chocolate eggs. This recipe is designed to be fun, stress-free, and endlessly adaptable. Whether you’re a seasoned baker or a novice in the kitchen, you’ll find these treats a joy to make and even more of a joy to share.
The recipe is a symphony in simplicity: melt butter, add marshmallows, stir in the Rice Krispies, press into a pan, and then unleash your inner artist with a variety of Easter-themed decorations. From pastel-colored candy melts to shimmering sprinkles, the possibilities are endless. These treats aren’t just a dessert; they’re a canvas for creativity, a celebration of spring, and a delicious reminder of the joy of Easter.
So gather your ingredients, invite your family to join in the fun, and prepare to create a batch of Easter Rice Krispie Treats that will be the highlight of your holiday celebration.
Ingredients:
- FOR THE RICE KRISPIE BASE:
- 6 cups Rice Krispies cereal
- 1 (10 oz) bag mini marshmallows
- 4 tbsp unsalted butter
- 1 tsp vanilla extract
- 1/4 tsp salt
- FOR DECORATION:
- 1/2 cup pastel-colored candy melts (pink, blue, yellow)
- 1/2 cup mini chocolate eggs (Cadbury Mini Eggs or similar)
- 1/4 cup Easter sprinkles

Preparation:
- Step 1: PREPARE THE PAN: Line a 9×13-inch baking dish with parchment paper, leaving an overhang on the sides for easy removal. Lightly grease the parchment paper with butter or nonstick spray. This crucial step prevents the treats from sticking and makes it effortless to lift them out of the pan later. If you don’t have parchment paper, you can heavily grease the pan.
- Step 2: MELT THE MARSHMALLOW MIXTURE: In a large, heavy-bottomed pot, melt the butter over low heat. The low heat is important to prevent the butter from browning or burning, which can affect the flavor of the treats. Once the butter is melted, add the mini marshmallows and stir continuously with a spatula until they are completely melted and the mixture is smooth. Make sure to scrape the bottom and sides of the pot to prevent the marshmallows from sticking and burning. Remove the pot from the heat and stir in the vanilla extract and salt. The vanilla extract enhances the sweetness and adds a touch of warmth, while the salt balances the flavors and prevents the treats from being overly sweet.
- Step 3: MIX IN THE CEREAL: Pour the Rice Krispies cereal into the marshmallow mixture. Gently fold the cereal into the mixture, ensuring that every piece is evenly coated with the melted marshmallow. Work quickly but carefully to avoid crushing the cereal. The goal is to achieve a uniform coating while maintaining the crispy texture of the Rice Krispies. The faster you work, the better, as the marshmallow mixture will start to harden as it cools.
- Step 4: PRESS INTO THE PAN: Transfer the Rice Krispie mixture to the prepared baking dish. Use a greased spatula or your buttered hands (slightly dampened) to press the mixture down evenly into the pan. Press firmly to create a compact layer, but avoid pressing too hard, which can make the treats dense and tough. A smooth, even surface will also provide a better base for decorating. Let the treats set at room temperature for at least 30 minutes before decorating. This allows the marshmallow mixture to cool and solidify, ensuring that the treats hold their shape.
- Step 5: DECORATE: Once the bars are set, melt the candy melts according to the package instructions. You can melt them in a microwave-safe bowl in 30-second intervals, stirring in between, or in a double boiler over simmering water. Be careful not to overheat the candy melts, as they can become lumpy or seize. Once the candy melts are smooth and melted, drizzle them over the bars in a crisscross pattern using a spoon, a fork, or a piping bag. Immediately sprinkle on Easter sprinkles and gently press in mini chocolate eggs. The candy melts will act as a glue, holding the sprinkles and eggs in place. Get creative with your decorations! You can create patterns, use different colors of candy melts, and arrange the chocolate eggs in fun and festive ways.
- Step 6: CUT AND SERVE: Let the decorations set completely before cutting the treats into squares or rectangles. This will prevent the decorations from smearing or falling off. Use a sharp knife to cut the treats into even pieces. Store the Easter Rice Krispie Treats in an airtight container at room temperature for up to 3 days.
COOKING Rating:
- Ease of Cooking: Very Easy
- Skill Level: Beginner
Serving Suggestions:
- Serve as a festive dessert at your Easter brunch or dinner.
- Wrap individual treats in cellophane bags and tie with ribbons for Easter party favors.
- Include them in Easter baskets as a sweet surprise.
- Enjoy them as a midday snack with a glass of milk or juice.
- Pair them with a scoop of vanilla ice cream for a decadent treat.
Tips:
- For extra gooey treats, use slightly less Rice Krispies cereal.
- To prevent the marshmallow mixture from sticking to your hands or spatula, lightly grease them with butter or nonstick spray.
- If you don’t have candy melts, you can use melted white chocolate or frosting instead.
- Get creative with your decorations! Use different types of Easter candies, such as jelly beans, marshmallow bunnies, or pastel-colored M&Ms.
- Store the treats in an airtight container at room temperature to keep them fresh and chewy.
Prep Time: 10 minutes
Cook Time: 5 minutes
Additional Time: 30 minutes
Total Time: 45 minutes
Nutritional Information (Estimated per serving):
- Calories: 250
- Protein: 2g
- Sodium: 100mg
Conclusion:
These Easter Rice Krispie Treats are more than just a dessert; they’re a celebration of the season, a symbol of joy, and a delicious way to create lasting memories with your loved ones. With their simple ingredients, easy preparation, and endless customization options, they’re the perfect treat for Easter parties, family gatherings, or simply a fun afternoon in the kitchen. So, gather your ingredients, unleash your creativity, and enjoy the magic of these delightful Easter Rice Krispie Treats!
Questions and Answers:
Q1: Can I use different types of cereal instead of Rice Krispies?
A: While Rice Krispies are the classic choice, you can certainly experiment with other types of cereal. Crispy rice-based cereals are ideal for this recipe due to their light and airy texture, which complements the marshmallow. Consider using puffed wheat or corn flakes for a slightly different flavor and texture profile. Keep in mind that some cereals may absorb more marshmallow mixture than others, so you may need to adjust the quantity accordingly.
Q2: What if I don’t have pastel-colored candy melts? Can I use something else for decoration?
A: Absolutely! If you don’t have pastel-colored candy melts, there are plenty of alternatives. You can use melted white chocolate tinted with food coloring to achieve a similar effect. Alternatively, you can use frosting in pastel colors, melted chocolate, or even a simple glaze made from powdered sugar and milk. For a natural look, consider using fruit purees to color your frosting or glaze. Don’t forget to get creative with your sprinkles and Easter candies to add extra flair.
Q3: How can I prevent the Rice Krispie treats from becoming too hard?
A: To keep your Rice Krispie treats soft and chewy, avoid overcooking the marshmallow mixture. Cook it over low heat, stirring constantly, until it’s just melted and smooth. Overcooking can cause the sugar in the marshmallows to crystallize, resulting in hard treats. Also, avoid pressing the mixture too firmly into the pan, as this can make the treats dense and tough. Let the treats set at room temperature rather than in the refrigerator, as refrigeration can dry them out. Finally, store the treats in an airtight container to prevent them from becoming stale.
Q4: Can I make these treats ahead of time?
A: Yes, you can definitely make these treats ahead of time. They can be stored in an airtight container at room temperature for up to 3 days. For best results, store them in a single layer or separate them with parchment paper to prevent them from sticking together. If you’re making them more than a day in advance, consider waiting to decorate them until closer to serving time to ensure that the decorations remain fresh and vibrant.
Q5: I have a smaller baking dish. Can I adjust the recipe accordingly?
A: Yes, you can adjust the recipe to fit a smaller baking dish. Simply reduce the quantities of all the ingredients proportionally. For example, if you’re using an 8×8-inch pan, you might reduce the ingredients by about 25%. Keep in mind that the thickness of the treats will be affected by the size of the pan. If you’re using a smaller pan, the treats will be thicker, and you may need to adjust the setting time accordingly.

Easter Rice Krispie Treats
Ingredients
- FOR THE RICE KRISPIE BASE:
- 6 cups Rice Krispies cereal
- 1 10 oz bag mini marshmallows
- 4 tbsp unsalted butter
- 1 tsp vanilla extract
- 1/4 tsp salt
- FOR DECORATION:
- 1/2 cup pastel-colored candy melts pink, blue, yellow
- 1/2 cup mini chocolate eggs Cadbury Mini Eggs or similar
- 1/4 cup Easter sprinkles
Instructions
- Step 1: PREPARE THE PAN: Line a 9×13-inch baking dish with parchment paper, leaving an overhang on the sides for easy removal. Lightly grease the parchment paper with butter or nonstick spray. This crucial step prevents the treats from sticking and makes it effortless to lift them out of the pan later. If you don’t have parchment paper, you can heavily grease the pan.
- Step 2: MELT THE MARSHMALLOW MIXTURE: In a large, heavy-bottomed pot, melt the butter over low heat. The low heat is important to prevent the butter from browning or burning, which can affect the flavor of the treats. Once the butter is melted, add the mini marshmallows and stir continuously with a spatula until they are completely melted and the mixture is smooth. Make sure to scrape the bottom and sides of the pot to prevent the marshmallows from sticking and burning. Remove the pot from the heat and stir in the vanilla extract and salt. The vanilla extract enhances the sweetness and adds a touch of warmth, while the salt balances the flavors and prevents the treats from being overly sweet.
- Step 3: MIX IN THE CEREAL: Pour the Rice Krispies cereal into the marshmallow mixture. Gently fold the cereal into the mixture, ensuring that every piece is evenly coated with the melted marshmallow. Work quickly but carefully to avoid crushing the cereal. The goal is to achieve a uniform coating while maintaining the crispy texture of the Rice Krispies. The faster you work, the better, as the marshmallow mixture will start to harden as it cools.
- Step 4: PRESS INTO THE PAN: Transfer the Rice Krispie mixture to the prepared baking dish. Use a greased spatula or your buttered hands (slightly dampened) to press the mixture down evenly into the pan. Press firmly to create a compact layer, but avoid pressing too hard, which can make the treats dense and tough. A smooth, even surface will also provide a better base for decorating. Let the treats set at room temperature for at least 30 minutes before decorating. This allows the marshmallow mixture to cool and solidify, ensuring that the treats hold their shape.
- Step 5: DECORATE: Once the bars are set, melt the candy melts according to the package instructions. You can melt them in a microwave-safe bowl in 30-second intervals, stirring in between, or in a double boiler over simmering water. Be careful not to overheat the candy melts, as they can become lumpy or seize. Once the candy melts are smooth and melted, drizzle them over the bars in a crisscross pattern using a spoon, a fork, or a piping bag. Immediately sprinkle on Easter sprinkles and gently press in mini chocolate eggs. The candy melts will act as a glue, holding the sprinkles and eggs in place. Get creative with your decorations! You can create patterns, use different colors of candy melts, and arrange the chocolate eggs in fun and festive ways.
- Step 6: CUT AND SERVE: Let the decorations set completely before cutting the treats into squares or rectangles. This will prevent the decorations from smearing or falling off. Use a sharp knife to cut the treats into even pieces. Store the Easter Rice Krispie Treats in an airtight container at room temperature for up to 3 days.