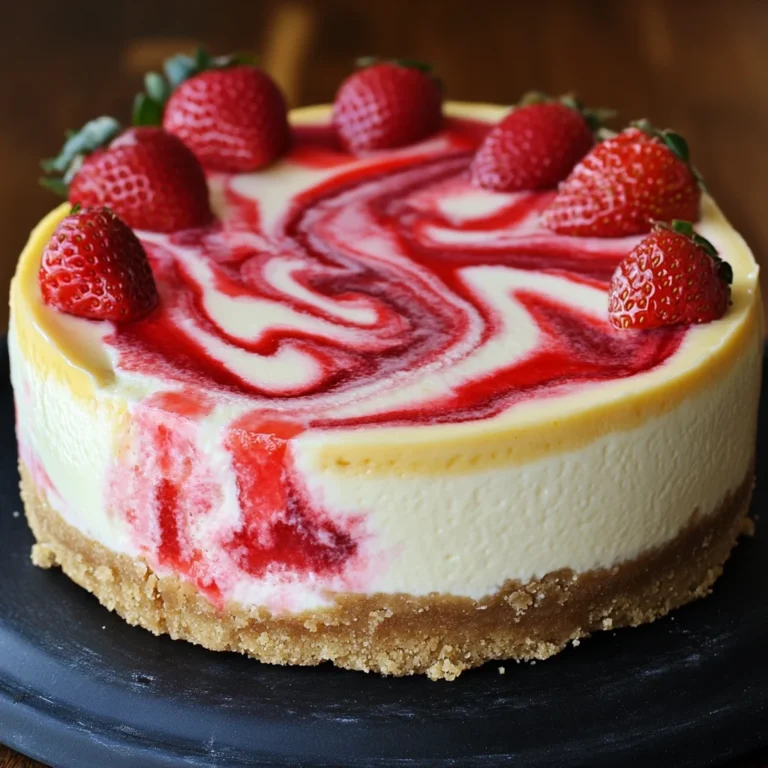
Strawberry Cheesecake Dump Cake
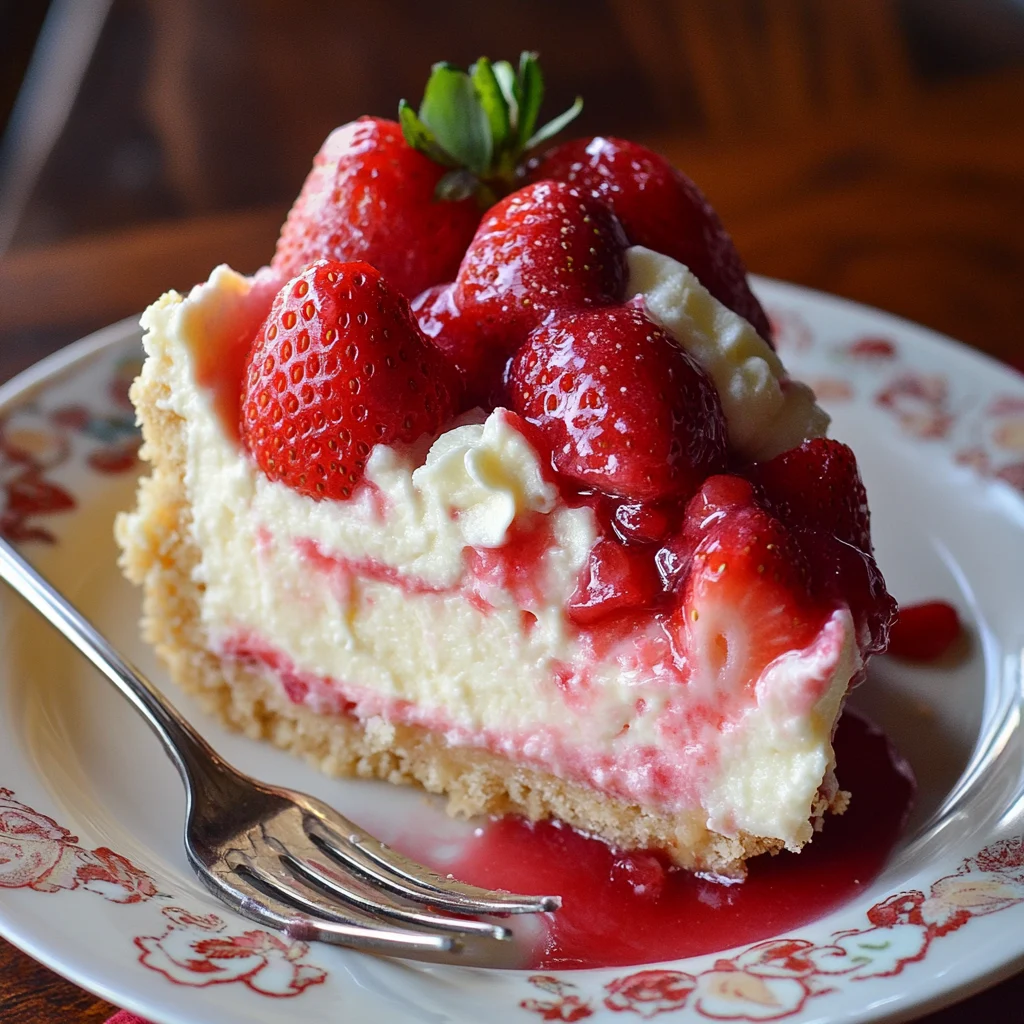
Description of this recipe: This Strawberry Cheesecake Dump Cake is the ultimate dessert for anyone craving a sweet treat without the fuss. Combining the tangy sweetness of strawberries, the creamy richness of cheesecake, and the comforting simplicity of a dump cake, this recipe is a guaranteed crowd-pleaser.
Why you will love this recipe: You’ll adore this recipe for its ease of preparation, requiring minimal effort and kitchen skills. With just a handful of ingredients and simple steps, you can create a dessert that tastes like you spent hours in the kitchen. The contrasting textures and flavors – the soft, fruity base, the creamy cheesecake pockets, and the buttery, crumbly topping – make every bite a delightful experience. Plus, it’s incredibly versatile; feel free to experiment with different fruits, pie fillings, and cake mixes to create your own unique variations.
Introduction
In the realm of desserts, there exists a special category of recipes that are both incredibly delicious and remarkably easy to make. The Strawberry Cheesecake Dump Cake perfectly embodies this ideal. This recipe is a testament to the fact that you don’t need to be a seasoned baker to create a dessert that will impress your family and friends. It’s a forgiving recipe, adaptable to your preferences and pantry staples.
The beauty of a dump cake lies in its simplicity. There’s no need for precise measurements, elaborate mixing techniques, or fancy equipment. Just layer the ingredients in a baking dish, pop it in the oven, and let the magic happen. This particular recipe elevates the humble dump cake by incorporating the irresistible flavors of strawberry and cheesecake, creating a symphony of sweetness and tanginess that will tantalize your taste buds.
Whether you’re a busy parent looking for a quick and easy dessert for a weeknight meal, a college student craving a taste of home, or a seasoned cook searching for a no-fuss option for your next gathering, this Strawberry Cheesecake Dump Cake is the answer. It’s the perfect dessert for any occasion, from casual family dinners to potlucks and holiday celebrations.
Ingredients:
- 2 cups fresh or frozen strawberries, sliced
- 1 can (21 oz) strawberry pie filling
- 1 package (8 oz) cream cheese, softened
- 1 cup granulated sugar
- 1 teaspoon vanilla extract
- 1 box (15.25 oz) yellow cake mix
- 1 cup unsalted butter, melted
- Whipped cream for topping (optional)
Preparation:
Step 1: Preheat Your Oven
Begin by preheating your oven to 350°F (175°C). Consistent temperature is crucial for even baking, ensuring that the cake cooks uniformly and achieves the desired texture. While the oven preheats, you can move on to preparing the rest of the ingredients.
Step 2: Prepare the Baking Dish
Grease a 9×13-inch baking dish thoroughly with non-stick cooking spray. This prevents the cake from sticking to the bottom and sides of the pan, making it easier to serve and clean up afterwards. You can also line the pan with parchment paper, leaving an overhang on the sides, for even easier removal.
Step 3: Layer the Strawberries
Spread the sliced fresh or frozen strawberries evenly across the bottom of the prepared baking dish. This layer provides a burst of fresh fruit flavor and creates a moist, fruity base for the cake. If using frozen strawberries, there is no need to thaw them beforehand.
Step 4: Add the Strawberry Pie Filling
Pour the can of strawberry pie filling over the layer of strawberries. Ensure that the pie filling is evenly distributed, covering the entire surface of the strawberries. This layer adds sweetness and intensifies the strawberry flavor of the cake. You can experiment with different pie filling flavors if you prefer.
Step 5: Make the Cheesecake Layer
In a medium-sized mixing bowl, combine the softened cream cheese, granulated sugar, and vanilla extract. Beat with an electric mixer until the mixture is smooth, creamy, and free of lumps. This creates the luscious cheesecake filling that adds richness and tanginess to the cake. The key to a smooth cheesecake layer is to ensure that the cream cheese is adequately softened before mixing.
Step 6: Drop the Cheesecake Mixture
Drop spoonfuls of the cream cheese mixture over the strawberry layer. There’s no need to spread it out evenly; the dollops will melt and create pockets of creamy cheesecake throughout the cake as it bakes. Distributing the cheesecake mixture randomly ensures that each bite contains a perfect balance of fruity and creamy flavors.
Step 7: Sprinkle the Cake Mix
Evenly sprinkle the dry yellow cake mix over the entire surface of the cheesecake layer. Ensure that the cake mix covers the cheesecake mixture completely, creating a uniform layer that will form the crumbly topping of the cake. Avoid mixing or stirring the cake mix; it should remain dry and loose on top.
Step 8: Drizzle the Melted Butter
Slowly and evenly drizzle the melted unsalted butter over the dry cake mix. Ensure that the butter covers as much of the cake mix as possible, as it will help to bind the ingredients together and create a golden-brown, buttery crust. Again, avoid stirring or mixing the ingredients at this stage.
Step 9: Bake the Cake
Place the baking dish in the preheated oven and bake for 45 to 50 minutes, or until the top is golden brown and bubbly. The edges of the cake should be slightly crisp, and the center should be set. A toothpick inserted into the center should come out clean or with a few moist crumbs.
Step 10: Cool and Serve
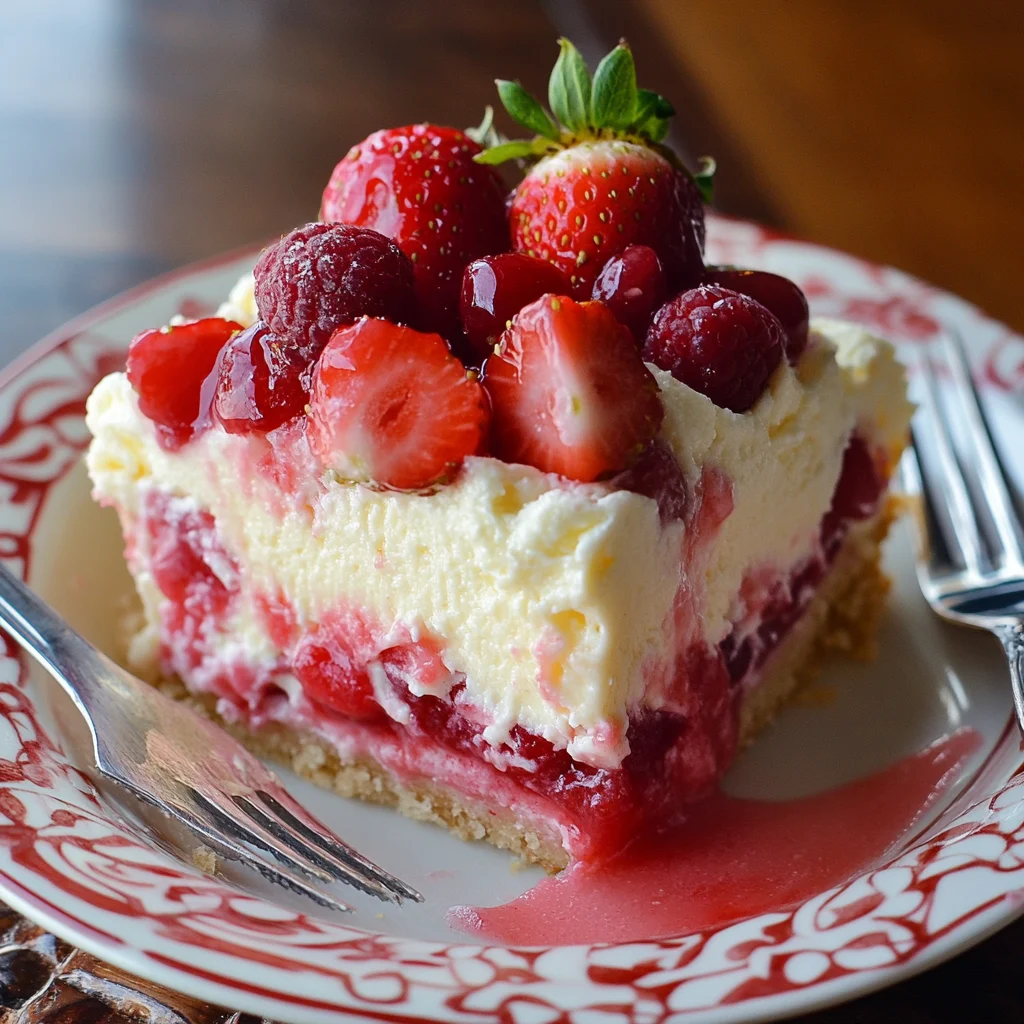
Remove the cake from the oven and let it cool slightly before serving. This allows the cake to set and prevents it from being too crumbly when cut. Serve warm or at room temperature, topped with whipped cream for an extra touch of sweetness and indulgence.
COOKING Rating:
- Ease of Preparation: 5/5 (Extremely easy)
- Taste: 5/5 (Delicious and satisfying)
- Complexity: 1/5 (Very simple)
- Overall: 5/5 (Highly recommended)
Serving Suggestions:
- Serve warm or at room temperature.
- Top with whipped cream or a scoop of vanilla ice cream.
- Garnish with fresh strawberries or a drizzle of strawberry sauce.
- Pair with a cup of coffee or tea for a perfect dessert combination.
- Enjoy as a standalone dessert or as part of a dessert buffet.
Tips:
- For a richer flavor, use a butter pecan cake mix instead of yellow cake mix.
- Experiment with different fruits, such as blueberries, raspberries, or peaches.
- Add a sprinkle of chopped nuts, such as pecans or walnuts, for added texture and flavor.
- If using frozen fruit, there’s no need to thaw it before adding it to the cake.
- Store leftover cake in an airtight container in the refrigerator for up to 3 days.
Prep Time:
15 minutes
Cook Time:
45-50 minutes
Total Time:
60-65 minutes
Nutritional Information:
(Per Serving, approximate)
- Calories: 450-550
- Protein: 5-7 grams
- Sodium: 250-350 mg
Conclusion
The Strawberry Cheesecake Dump Cake is more than just a recipe; it’s an invitation to indulge in a simple yet decadent treat that requires minimal effort and delivers maximum flavor. Its forgiving nature and adaptability make it a perfect recipe for both beginner and experienced bakers. Whether you’re looking for a quick and easy dessert to satisfy your sweet cravings or a crowd-pleasing option for your next gathering, this dump cake is sure to impress. So, gather your ingredients, preheat your oven, and prepare to experience the magic of effortless baking.
Questions and Answers:
Q1: Can I use a different type of fruit instead of strawberries?
A: Absolutely! One of the great things about this recipe is its versatility. You can easily substitute strawberries with other fruits like blueberries, raspberries, peaches, or even a mix of berries. Just ensure that the fruit is sliced into manageable pieces and that you adjust the pie filling accordingly to complement the chosen fruit.
Q2: I don’t have yellow cake mix on hand. Can I use another type of cake mix?
A: Yes, you can definitely use other cake mixes. White cake mix works well as a neutral base, while butter pecan cake mix adds a richer, nuttier flavor. Chocolate cake mix would create a completely different but equally delicious dessert. Experiment with different flavors to find your favorite combination.
Q3: Can I reduce the amount of sugar in the recipe?
A: You can certainly reduce the sugar, but keep in mind that it will affect the overall sweetness and texture of the cake. If you want to reduce the sugar content, try reducing the amount of granulated sugar in the cream cheese mixture by a quarter or a third. You can also use a sugar substitute, but be aware that it may alter the flavor slightly.
Q4: My cake is browning too quickly on top. What should I do?
A: If the top of the cake is browning too quickly, you can loosely tent it with aluminum foil during the last 15-20 minutes of baking. This will help to prevent the top from burning while allowing the inside to cook through completely.
Q5: Can I make this dump cake ahead of time?
A: Yes, you can absolutely make this dump cake ahead of time. Allow the cake to cool completely, then cover it tightly with plastic wrap or store it in an airtight container in the refrigerator. It will keep for up to 3 days. You can reheat it slightly in the microwave or oven before serving, or enjoy it cold.

Strawberry Cheesecake Dump Cake
Ingredients
- 2 cups fresh or frozen strawberries sliced
- 1 can 21 oz strawberry pie filling
- 1 package 8 oz cream cheese, softened
- 1 cup granulated sugar
- 1 teaspoon vanilla extract
- 1 box 15.25 oz yellow cake mix
- 1 cup unsalted butter melted
- Whipped cream for topping optional
Instructions
- Step 1: Preheat Your Oven
- Begin by preheating your oven to 350°F (175°C). Consistent temperature is crucial for even baking, ensuring that the cake cooks uniformly and achieves the desired texture. While the oven preheats, you can move on to preparing the rest of the ingredients.
- Step 2: Prepare the Baking Dish
- Grease a 9×13-inch baking dish thoroughly with non-stick cooking spray. This prevents the cake from sticking to the bottom and sides of the pan, making it easier to serve and clean up afterwards. You can also line the pan with parchment paper, leaving an overhang on the sides, for even easier removal.
- Step 3: Layer the Strawberries
- Spread the sliced fresh or frozen strawberries evenly across the bottom of the prepared baking dish. This layer provides a burst of fresh fruit flavor and creates a moist, fruity base for the cake. If using frozen strawberries, there is no need to thaw them beforehand.
- Step 4: Add the Strawberry Pie Filling
- Pour the can of strawberry pie filling over the layer of strawberries. Ensure that the pie filling is evenly distributed, covering the entire surface of the strawberries. This layer adds sweetness and intensifies the strawberry flavor of the cake. You can experiment with different pie filling flavors if you prefer.
- Step 5: Make the Cheesecake Layer
- In a medium-sized mixing bowl, combine the softened cream cheese, granulated sugar, and vanilla extract. Beat with an electric mixer until the mixture is smooth, creamy, and free of lumps. This creates the luscious cheesecake filling that adds richness and tanginess to the cake. The key to a smooth cheesecake layer is to ensure that the cream cheese is adequately softened before mixing.
- Step 6: Drop the Cheesecake Mixture
- Drop spoonfuls of the cream cheese mixture over the strawberry layer. There’s no need to spread it out evenly; the dollops will melt and create pockets of creamy cheesecake throughout the cake as it bakes. Distributing the cheesecake mixture randomly ensures that each bite contains a perfect balance of fruity and creamy flavors.
- Step 7: Sprinkle the Cake Mix
- Evenly sprinkle the dry yellow cake mix over the entire surface of the cheesecake layer. Ensure that the cake mix covers the cheesecake mixture completely, creating a uniform layer that will form the crumbly topping of the cake. Avoid mixing or stirring the cake mix; it should remain dry and loose on top.
- Step 8: Drizzle the Melted Butter
- Slowly and evenly drizzle the melted unsalted butter over the dry cake mix. Ensure that the butter covers as much of the cake mix as possible, as it will help to bind the ingredients together and create a golden-brown, buttery crust. Again, avoid stirring or mixing the ingredients at this stage.
- Step 9: Bake the Cake
- Place the baking dish in the preheated oven and bake for 45 to 50 minutes, or until the top is golden brown and bubbly. The edges of the cake should be slightly crisp, and the center should be set. A toothpick inserted into the center should come out clean or with a few moist crumbs.
- Step 10: Cool and Serve
- Remove the cake from the oven and let it cool slightly before serving. This allows the cake to set and prevents it from being too crumbly when cut. Serve warm or at room temperature, topped with whipped cream for an extra touch of sweetness and indulgence