
Air Fryer Spring Rolls
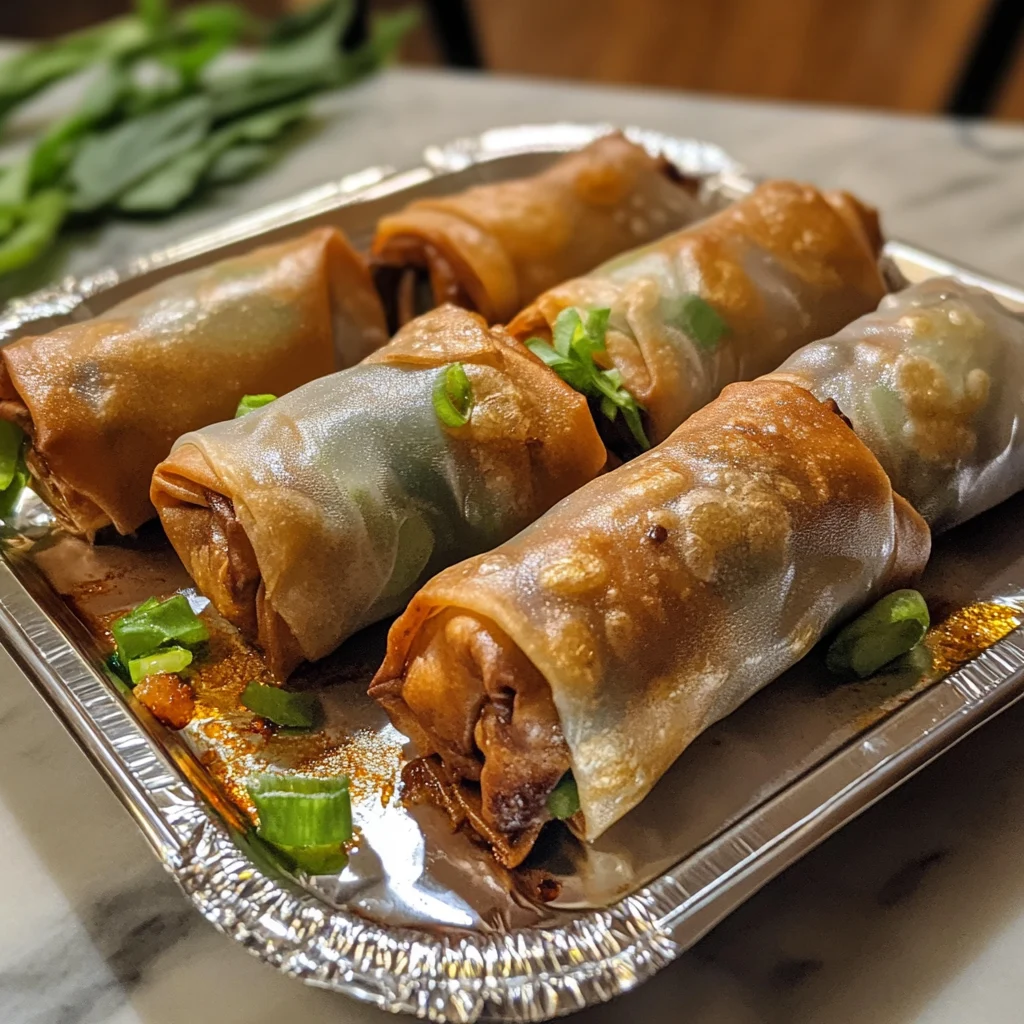
Description of this recipe: These air fryer spring rolls deliver the satisfying crunch and savory filling of traditional spring rolls, but without the excess oil. They’re packed with a flavorful ground chicken and vegetable filling, and the air fryer achieves a beautifully crispy exterior that’s both healthier and quicker than deep-frying. This recipe is adaptable to your preferences, allowing for variations in fillings and wrappers.
Why you will love this recipe:
- Healthier: Significantly less oil compared to deep-fried spring rolls.
- Crispy Texture: The air fryer ensures a perfect, even crisp.
- Easy to Make: Simple steps and readily available ingredients.
- Customizable: Easily adaptable to vegetarian, vegan, or different protein options.
- Quick: Faster than traditional frying methods.
Introduction
Spring rolls are a beloved appetizer and snack enjoyed around the world, particularly in Asian cuisines. However, the traditional deep-frying method can make them a less-than-healthy indulgence. This recipe offers a fantastic alternative, using the air fryer to create irresistibly crispy spring rolls with a fraction of the oil.
The key to successful air fryer spring rolls lies in a well-prepared filling and proper wrapping technique. A flavorful filling will make your spring rolls burst with flavor, while the right wrapping technique will ensure they stay intact during cooking and achieve maximum crispiness. The versatility of this recipe also allows you to tailor the ingredients to your dietary needs and taste preferences. Whether you’re looking for a quick appetizer for a party, a satisfying side dish, or a fun cooking project, these air fryer spring rolls are sure to impress. Moreover, air frying isn’t just about health. It’s about convenience. No more dealing with hot oil splatters, temperature regulation, and messy clean-ups. The air fryer provides a controlled environment that yields consistent results. Plus, it’s much safer, especially for those who are new to cooking. This recipe will guide you through each step, from creating the perfect filling to achieving that signature golden-brown crunch. So, gather your ingredients, preheat your air fryer, and get ready to enjoy a guilt-free version of a classic favorite! These are also a great way to use up leftover cooked meats and vegetables from your fridge, promoting a zero-waste kitchen. The ability to freeze these assembled spring rolls means you can enjoy them anytime, perfect for meal prepping and planning. So, whether you’re a seasoned cook or a kitchen novice, these air fryer spring rolls will become a staple in your recipe repertoire, offering a quick, healthy, and delicious option for any occasion. The balance of flavors and textures is where these air fryer spring rolls truly shine. The savory filling, combined with the satisfying crunch of the wrapper, makes for a delightful culinary experience. They are also incredibly versatile, pairing well with a variety of dipping sauces, from sweet chili sauce to peanut sauce, allowing you to create a personalized flavor profile.
Ingredients:
- 1 tablespoon olive oil
- 2 garlic cloves, minced
- 4 oz mushrooms, chopped small (cremini, shiitake, or oyster)
- 1 lb ground chicken, 93% lean recommended
- 1 ½ cups shredded green cabbage
- 1 ½ cups shredded carrots (or 3 cups coleslaw mix)
- 2 green onions, thinly sliced
- 1 tablespoon soy sauce
- 2 tablespoons rice vinegar
- 1 teaspoon cornstarch
- 12 – 15 spring roll wrappers (rice paper, wheat-based, or egg roll wrappers)
- Salt & pepper to taste
- Pinch of cornstarch mixed with water (slurry to seal spring roll wraps)
- Avocado oil spray, for air frying (or olive oil spray)

Preparation:
Step 1: Make the Filling
In a large skillet, heat the olive oil over medium heat. Add the minced garlic and cook for about 30 seconds until fragrant, being careful not to burn it.
Step 2: Add the chopped mushrooms to the skillet. Let them brown on one side for approximately 5 minutes without stirring. This step enhances their umami flavor and gives them a better texture. Then, stir them until all the liquid has cooked out and the mushrooms are thoroughly cooked, which usually takes another 5-7 minutes. Properly cooked mushrooms add depth to the filling’s flavor.
Step 3: Add the ground chicken to the skillet, along with a pinch of salt and a pinch of pepper. Break the chicken apart with a spoon or spatula. Cook until the chicken is mostly cooked through, about 4 to 5 minutes, ensuring no pink remains.
Step 4: Stir in the shredded cabbage, carrots, green onions, soy sauce, and rice vinegar. Continue cooking until the cabbage and carrots are wilted, which should take around 3-5 minutes. The vegetables should still retain some texture, adding a nice contrast to the ground chicken.
Step 5: Sprinkle in 1 teaspoon of cornstarch and continue cooking until all the liquid is evaporated and the mixture thickens. This step is crucial to prevent soggy spring rolls. The filling should be relatively dry and cohesive. Ensure the filling isn’t too wet, as excess moisture can make the wrappers soggy.
Step 6: Cool the Filling
Allow the filling to cool completely. You can speed up the cooling process by transferring it to the refrigerator or spreading it out on a baking sheet in the fridge. Cooling the filling is essential to prevent the wrappers from becoming soggy and tearing during assembly.
Step 7: Assemble Spring Rolls
When ready to assemble, peel off an egg roll or spring roll wrapper. If using typical spring roll or egg roll wrappers, cover the remaining wrappers with a damp paper towel or dish towel to prevent drying. If using rice paper spring roll wrappers, soak one wrapper at a time in a shallow water bowl for about 10 seconds to soften it before filling. Avoid soaking multiple wrappers at once, as they can become sticky and difficult to handle.
Step 8: Place the wrapper on a clean cutting board or work surface.
- Rice Paper: Dip the circular wrapper in water for 10 seconds, then place it on a clean cutting board. Add a heaping spoonful of the filling to the bottom corner of the wrapper. Fold in the sides, then roll until the wrapper is completely sealed.
- Rice Paper (Alternate Method): Place the wrapper in a diamond position. Add a heaping spoonful of the filling to the bottom corner of the wrapper. Roll halfway, then fold in the sides. Continue rolling until the wrapper is completely sealed. Use the cornstarch water slurry to seal the edges.
Step 9: Use a cornstarch and water slurry to seal the edges of the spring rolls. This helps prevent them from unraveling during cooking.
Step 10: Repeat the process until all the spring rolls are assembled.
Step 11: Air Fry Them
Preheat the air fryer to 380 degrees Fahrenheit. This ensures even cooking and optimal crispness.
Step 12: Spray or brush the air fryer basket with oil spray. This prevents the spring rolls from sticking and promotes even browning.
Step 13: Add the spring rolls to the air fryer, making sure they are not overcrowded. If necessary, work in batches to ensure even cooking. Spray the spring rolls generously with avocado or olive oil spray. The oil helps to achieve a golden-brown, crispy exterior.
Step 14: Air fry the spring rolls for 8-10 minutes, flipping them halfway through, until they are golden brown on all sides. Adjust the cooking time based on your air fryer model. Check the spring rolls frequently to prevent burning.
Step 15: Serve Immediately
Once cooked, remove the spring rolls from the air fryer and serve them immediately. Serve with your favorite dipping sauce.
COOKING Rating: Easy
Serving Suggestions:
- Serve as an appetizer with a variety of dipping sauces like sweet chili sauce, soy sauce, peanut sauce, or plum sauce.
- Pair with a side of Asian slaw or a light salad for a complete meal.
- Enjoy as a snack or light lunch with a bowl of soup.
Tips:
- Don’t Overfill the Wrappers: Avoid overfilling the wrappers to prevent bursting during cooking. A generous spoonful of filling with ample space for sealing is ideal.
- Storing: Store any leftover cooked spring rolls in an airtight container in the refrigerator for up to 3 days. Reheat them in the air fryer or oven before serving.
- Reheating: Reheat leftover spring rolls in the air fryer for a few minutes until they are warmed and crispy again. Alternatively, you can reheat them in a conventional oven at 350°F for about 10-12 minutes. Avoid microwaving, as it can make them soggy.
- Freezing: You can freeze the assembled spring rolls in a single layer on a baking sheet. Once frozen, transfer them to a freezer bag or airtight container for up to one month. When ready to cook, air fry them directly from frozen, adding a few extra minutes to the cooking time.
- Serve Immediately: To retain their crispy texture, serve the spring rolls immediately after air frying.
- Experiment with Fillings: Feel free to experiment with various filling ingredients to customize the flavor, like ground turkey, ground pork, shrimp, tofu, or additional vegetables. Just ensure the filling is well-cooked and adequately seasoned.
- Make them Vegetarian or Vegan: Omit the ground chicken and use shredded tofu or extra mushrooms! Add some finely chopped water chestnuts for an extra crunch.
- Cornstarch: You can also use arrowroot starch or tapioca flour, and if needed, 1 tablespoon of regular flour.
- Mushrooms: Any variety, such as cremini, shiitake, or oyster mushrooms, can be used based on preference and availability. If you don’t like mushrooms, use tofu!
- Shredded Green Cabbage: Swap with thinly sliced Napa or savoy cabbage for varied texture and flavor. You can also use coleslaw mix (without sauce).
- Rice Vinegar: You can substitute with apple cider vinegar, white wine vinegar, or lemon/lime juice.
- **Ensure Spring Rolls are adequately spaced in the airfryer.
Prep Time: 10 minutes
Cook Time: 20 minutes
Total Time: 30 minutes
Nutritional Information (per serving): (Approximate values, may vary depending on ingredient brands and portion sizes)
Calories: 106 kcal
Protein: 8g
Sodium: 156mg
Conclusion
These air fryer spring rolls offer a delightful, healthier twist on a classic favorite. With their crispy texture, flavorful filling, and easy preparation, they are perfect for any occasion. Feel free to experiment with different fillings and dipping sauces to create your own signature spring roll.
Questions and Answers about the Recipe:
Q1: Can I use frozen spring roll wrappers?
A: Yes, you can use frozen spring roll wrappers. Make sure to thaw them completely according to the package instructions before using them. Keep them covered with a damp cloth while working to prevent them from drying out and cracking.
Q2: How do I prevent the spring rolls from sticking to the air fryer basket?
A: To prevent sticking, make sure to spray or brush the air fryer basket generously with oil before placing the spring rolls inside. Also, ensure the spring rolls are not overcrowded in the basket, as this can also cause them to stick together.
Q3: Can I prepare these spring rolls ahead of time and cook them later?
A: Yes, you can assemble the spring rolls ahead of time and store them in the refrigerator for a few hours before cooking. Make sure to cover them with a damp paper towel to prevent them from drying out. For longer storage, freeze the assembled spring rolls in a single layer on a baking sheet, then transfer them to a freezer bag or airtight container.
Q4: What if I don’t have an air fryer? Can I bake these in the oven?
A: Yes, you can bake these in the oven. Preheat your oven to 400°F (200°C). Place the spring rolls on a baking sheet lined with parchment paper, spray them with oil, and bake for 15-20 minutes, flipping them halfway through, until they are golden brown and crispy.
Q5: Can I use a different type of meat or protein for the filling?
A: Absolutely! You can substitute the ground chicken with ground turkey, ground pork, shrimp, tofu, or any other protein of your choice. Just make sure to cook the protein thoroughly before adding it to the filling mixture. Adjust the seasoning accordingly to complement the flavor of the protein you choose.

Air Fryer Spring Rolls
Ingredients
- 1 tablespoon olive oil
- 2 garlic cloves minced
- 4 oz mushrooms chopped small (cremini, shiitake, or oyster)
- 1 lb ground chicken 93% lean recommended
- 1 ½ cups shredded green cabbage
- 1 ½ cups shredded carrots or 3 cups coleslaw mix
- 2 green onions thinly sliced
- 1 tablespoon soy sauce
- 2 tablespoons rice vinegar
- 1 teaspoon cornstarch
- 12 – 15 spring roll wrappers rice paper, wheat-based, or egg roll wrappers
- Salt & pepper to taste
- Pinch of cornstarch mixed with water slurry to seal spring roll wraps
- Avocado oil spray for air frying (or olive oil spray)
Instructions
- Step 1: Make the Filling
- In a large skillet, heat the olive oil over medium heat. Add the minced garlic and cook for about 30 seconds until fragrant, being careful not to burn it.
- Step 2: Add the chopped mushrooms to the skillet. Let them brown on one side for approximately 5 minutes without stirring. This step enhances their umami flavor and gives them a better texture. Then, stir them until all the liquid has cooked out and the mushrooms are thoroughly cooked, which usually takes another 5-7 minutes. Properly cooked mushrooms add depth to the filling’s flavor.
- Step 3: Add the ground chicken to the skillet, along with a pinch of salt and a pinch of pepper. Break the chicken apart with a spoon or spatula. Cook until the chicken is mostly cooked through, about 4 to 5 minutes, ensuring no pink remains.
- Step 4: Stir in the shredded cabbage, carrots, green onions, soy sauce, and rice vinegar. Continue cooking until the cabbage and carrots are wilted, which should take around 3-5 minutes. The vegetables should still retain some texture, adding a nice contrast to the ground chicken.
- Step 5: Sprinkle in 1 teaspoon of cornstarch and continue cooking until all the liquid is evaporated and the mixture thickens. This step is crucial to prevent soggy spring rolls. The filling should be relatively dry and cohesive. Ensure the filling isn’t too wet, as excess moisture can make the wrappers soggy.
- Step 6: Cool the Filling
- Allow the filling to cool completely. You can speed up the cooling process by transferring it to the refrigerator or spreading it out on a baking sheet in the fridge. Cooling the filling is essential to prevent the wrappers from becoming soggy and tearing during assembly.
- Step 7: Assemble Spring Rolls
- When ready to assemble, peel off an egg roll or spring roll wrapper. If using typical spring roll or egg roll wrappers, cover the remaining wrappers with a damp paper towel or dish towel to prevent drying. If using rice paper spring roll wrappers, soak one wrapper at a time in a shallow water bowl for about 10 seconds to soften it before filling. Avoid soaking multiple wrappers at once, as they can become sticky and difficult to handle.
- Step 8: Place the wrapper on a clean cutting board or work surface.
- Rice Paper: Dip the circular wrapper in water for 10 seconds, then place it on a clean cutting board. Add a heaping spoonful of the filling to the bottom corner of the wrapper. Fold in the sides, then roll until the wrapper is completely sealed.
- Rice Paper (Alternate Method): Place the wrapper in a diamond position. Add a heaping spoonful of the filling to the bottom corner of the wrapper. Roll halfway, then fold in the sides. Continue rolling until the wrapper is completely sealed. Use the cornstarch water slurry to seal the edges.
- Step 9: Use a cornstarch and water slurry to seal the edges of the spring rolls. This helps prevent them from unraveling during cooking.
- Step 10: Repeat the process until all the spring rolls are assembled.
- Step 11: Air Fry Them
- Preheat the air fryer to 380 degrees Fahrenheit. This ensures even cooking and optimal crispness.
- Step 12: Spray or brush the air fryer basket with oil spray. This prevents the spring rolls from sticking and promotes even browning.
- Step 13: Add the spring rolls to the air fryer, making sure they are not overcrowded. If necessary, work in batches to ensure even cooking. Spray the spring rolls generously with avocado or olive oil spray. The oil helps to achieve a golden-brown, crispy exterior.
- Step 14: Air fry the spring rolls for 8-10 minutes, flipping them halfway through, until they are golden brown on all sides. Adjust the cooking time based on your air fryer model. Check the spring rolls frequently to prevent burning.
- Step 15: Serve Immediately
- Once cooked, remove the spring rolls from the air fryer and serve them immediately. Serve with your favorite dipping sauce.
