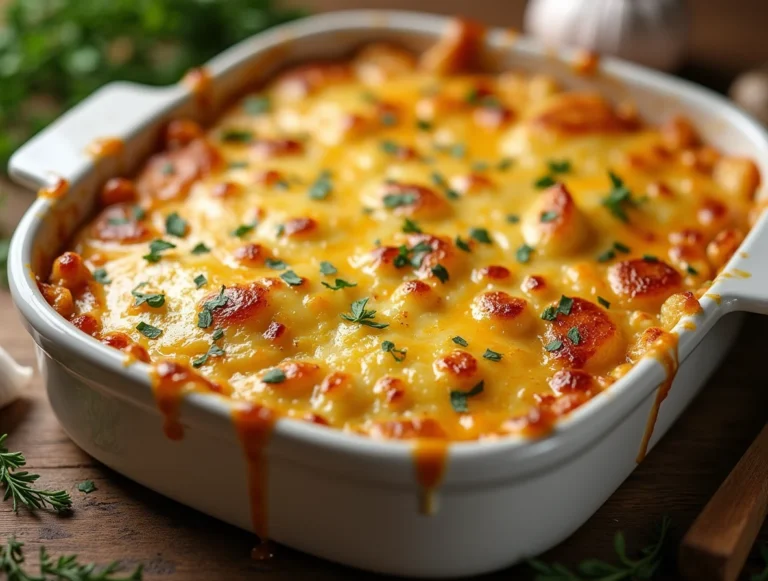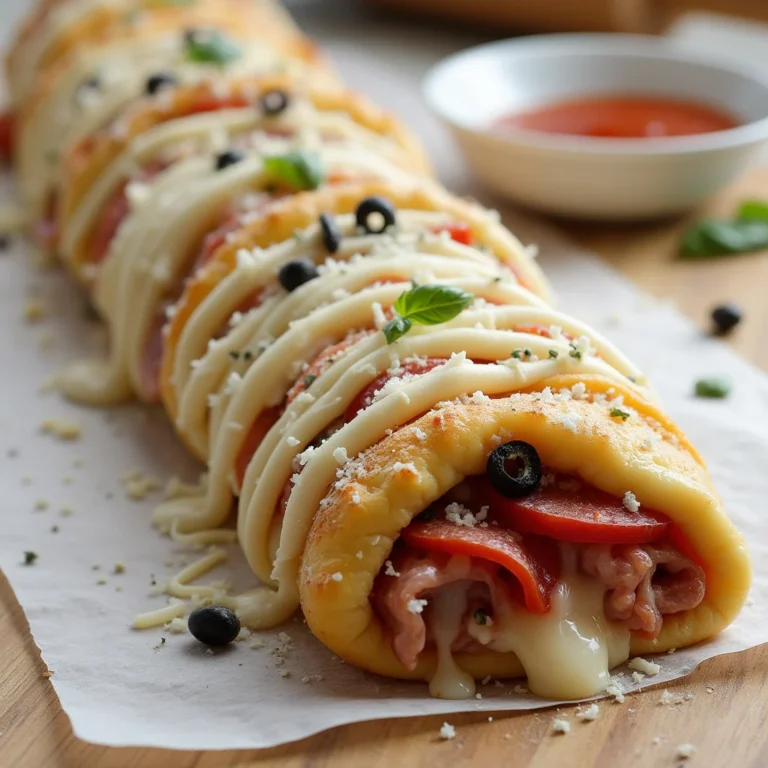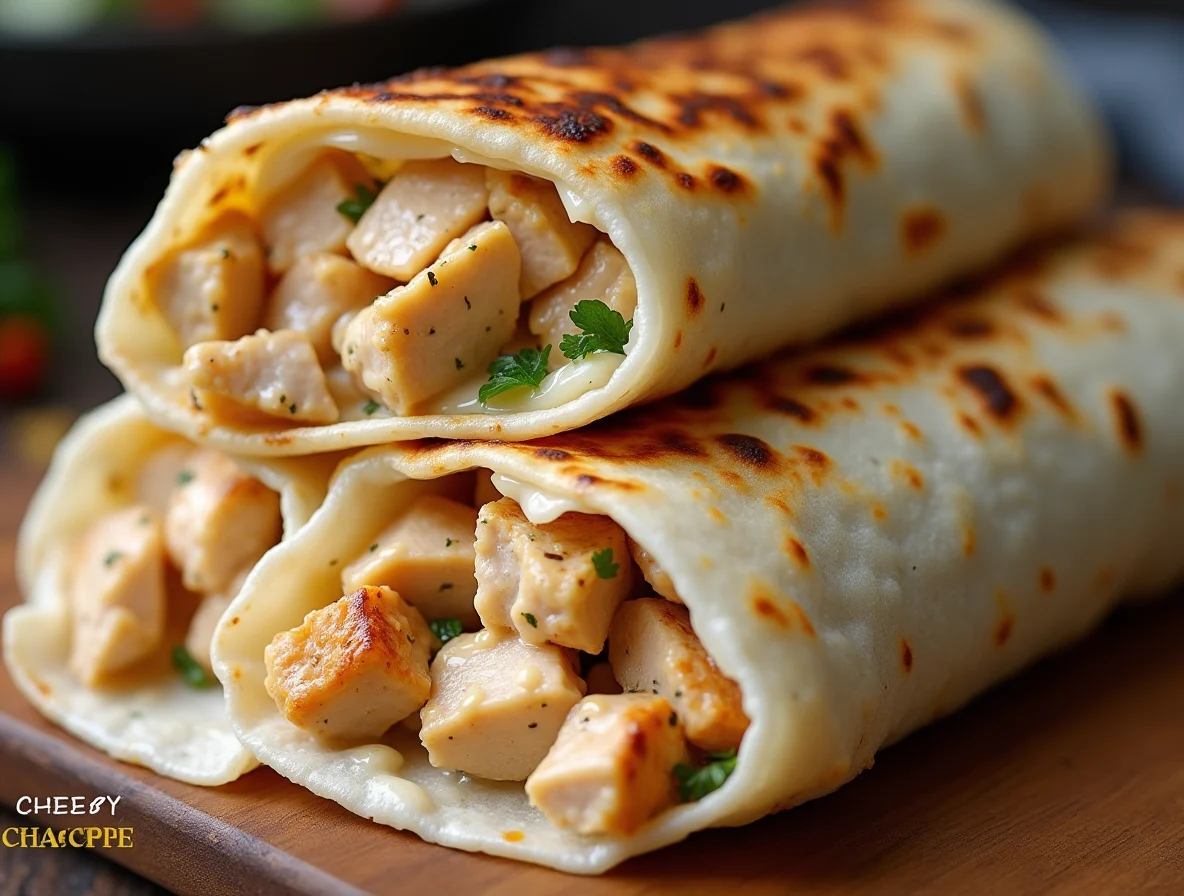
Cheesy Chicken Garlic Wraps
Description: Indulge in the irresistible combination of tender, seasoned chicken, creamy garlic sauce, and melted cheese all nestled within a warm, crispy tortilla. These Cheesy Chicken Garlic Wraps are a quick, satisfying, and flavor-packed meal perfect for busy weeknights or a casual weekend lunch.
Why You Will Love This Recipe:
- Quick & Easy: Ready in just 25 minutes, these wraps are a lifesaver when you need a delicious meal without spending hours in the kitchen.
- Flavor Explosion: The combination of savory chicken, creamy garlic sauce, and gooey cheese creates a symphony of flavors that will tantalize your taste buds.
- Customizable: Easily adapt the recipe to your preferences by adding your favorite vegetables, spices, or cheese.
- Crowd-Pleaser: These wraps are a guaranteed hit with both kids and adults, making them perfect for family dinners or gatherings with friends.
- Versatile: Enjoy them as a main course, appetizer, or even a snack.
Introduction
In the realm of quick and easy meals, few options are as satisfying and versatile as a well-crafted wrap. And when you combine the comforting familiarity of chicken with the rich, savory flavors of garlic and cheese, you’ve got a recipe that’s destined to become a family favorite. These Cheesy Chicken Garlic Wraps are designed to deliver maximum flavor with minimal effort, making them the perfect solution for those evenings when time is of the essence, but a delicious, home-cooked meal is still a priority.
The beauty of this recipe lies in its simplicity. With just a handful of ingredients and a few straightforward steps, you can transform ordinary chicken and tortillas into a culinary masterpiece. The key to success is in the seasoning of the chicken, which infuses each bite with a savory blend of garlic, onion, and paprika. Combined with the creamy richness of the garlic sauce and the gooey goodness of melted cheese, these wraps offer a symphony of flavors and textures that will leave you craving more.
But don’t let the simplicity fool you – these wraps are also incredibly customizable. Feel free to experiment with different types of cheese, add your favorite vegetables, or adjust the seasoning to suit your personal taste. Whether you’re looking to spice things up with a pinch of red pepper flakes or add a touch of freshness with some chopped cilantro, the possibilities are endless.
So, gather your ingredients, preheat your pan, and get ready to embark on a culinary adventure that will have your taste buds singing. These Cheesy Chicken Garlic Wraps are more than just a meal – they’re an experience.

Ingredients:
→ Main Ingredients
- 2 large chicken breasts, diced into ½-inch cubes
- 4 large flour tortillas (approximately 10-12 inches in diameter)
→ Seasonings & Oil
- 1 tablespoon olive oil
- 2 teaspoons garlic powder
- 1 teaspoon onion powder
- 1 teaspoon paprika
- Salt and freshly ground black pepper, to taste
→ Cheese & Sauce
- 1 cup shredded cheddar cheese
- 1/2 cup shredded mozzarella cheese
- 1/2 cup creamy garlic sauce (store-bought or homemade)
→ Garnish (Optional)
- Fresh parsley, chopped
Preparation:
Step 1: Season the Chicken
In a medium-sized mixing bowl, combine the diced chicken with the olive oil, garlic powder, onion powder, paprika, salt, and pepper. Use your hands or a spoon to ensure that the chicken is evenly coated with the seasonings. The olive oil helps the seasonings adhere to the chicken and also adds a touch of moisture, preventing it from drying out during cooking. Don’t be afraid to be generous with the seasonings – they are the foundation of the wrap’s flavor profile.
Step 2: Cook the Chicken
Heat a non-stick pan or skillet over medium heat. Once the pan is hot, add the seasoned chicken and cook for approximately 6-8 minutes, stirring occasionally, until the chicken is golden brown and fully cooked through. It’s important to ensure that the chicken is cooked to an internal temperature of 165°F (74°C) to ensure food safety. Overcooking the chicken can result in a dry and rubbery texture, so keep a close eye on it and remove it from the heat once it’s cooked through. Remove from heat and let cool slightly.
Step 3: Assemble the Wraps
Lay the flour tortillas out on a flat surface. Spread a generous layer of creamy garlic sauce over each tortilla, leaving a small border around the edges. The garlic sauce adds a creamy, tangy element to the wraps that complements the savory chicken and melted cheese perfectly. Evenly distribute the cooked chicken on top of the garlic sauce, ensuring that each wrap gets a fair share. Sprinkle the shredded cheddar and mozzarella cheese over the chicken, covering it completely.
Step 4: Grill the Wraps
Fold the tortillas over the filling, creating a wrap. In the same non-stick pan, grill the folded wraps for 2-3 minutes on each side, or until the cheese is melted, the tortillas are golden brown and crispy, and warm. Gently press down on the wraps with a spatula to ensure even contact with the pan and promote even browning. Be careful not to burn the tortillas – keep a close eye on them and adjust the heat as needed.
Step 5: Serve & Enjoy
Remove the grilled wraps from the pan and transfer them to a cutting board. Use a sharp knife to cut each wrap in half diagonally. This makes them easier to handle and eat. Garnish with freshly chopped parsley, if desired, for a touch of freshness and visual appeal. Serve immediately while the wraps are warm and the cheese is melted and gooey.
COOKING Rating:
- Flavor: 5/5 (A perfect balance of savory, creamy, and cheesy flavors)
- Ease: 5/5 (Simple and straightforward steps)
- Time: 5/5 (Ready in just 25 minutes)
- Customization: 4/5 (Easily adaptable to your preferences)
Serving Suggestions:
- Serve these Cheesy Chicken Garlic Wraps as a main course for lunch or dinner.
- Pair them with a side of fresh salad, such as a simple green salad with vinaigrette or a chopped salad with avocado and tomatoes.
- Offer a side of garlic dipping sauce or ranch dressing for extra dipping pleasure.
- Cut the wraps into smaller pieces and serve them as appetizers at your next party or gathering.
- Pack them in your lunchbox for a satisfying and convenient midday meal.
Tips:
- For a spicier wrap, add a pinch of red pepper flakes to the chicken seasoning or use a spicy garlic sauce.
- If you don’t have creamy garlic sauce on hand, you can easily make your own by combining mayonnaise, minced garlic, lemon juice, and a pinch of salt and pepper.
- Feel free to add your favorite vegetables to the wraps, such as diced bell peppers, onions, or spinach.
- To prevent the tortillas from tearing, warm them slightly in the microwave or on a dry skillet before assembling the wraps.
- If you don’t have a non-stick pan, you can use a regular pan, but be sure to grease it well to prevent the wraps from sticking.
- For extra crispy tortillas, brush them with a little olive oil or melted butter before grilling.
Prep Time:
10 Minutes
Cook Time:
15 Minutes
Total Time:
25 Minutes
Nutritional Information:
(Per Serving – Approximate)
- Calories: 550-650 (depending on specific ingredients and portion sizes)
- Protein: 35-45 grams
- Sodium: 700-900 mg (depending on the sodium content of the cheese and sauce)
Conclusion
These Cheesy Chicken Garlic Wraps are a testament to the fact that delicious meals don’t have to be complicated or time-consuming. With their irresistible combination of flavors and textures, these wraps are sure to become a staple in your meal rotation. So, whether you’re looking for a quick weeknight dinner, a crowd-pleasing appetizer, or a satisfying lunch on the go, these wraps are the perfect solution.
Q&A:
Q1: Can I use rotisserie chicken instead of cooking chicken breasts from scratch?
A: Absolutely! Rotisserie chicken is a fantastic shortcut for this recipe. Simply shred the chicken and proceed with seasoning it as directed. This will save you even more time and effort, making these wraps even quicker to prepare. Just be sure to remove the skin from the rotisserie chicken, if you’re trying to reduce the calorie content.
Q2: What are some good substitutions for the creamy garlic sauce?
A: If you don’t have creamy garlic sauce on hand, there are several delicious substitutes you can use. Ranch dressing is a popular option that offers a similar creamy and tangy flavor. You can also try using a garlic aioli, a Greek yogurt-based garlic sauce, or even a simple mixture of mayonnaise, minced garlic, lemon juice, and a pinch of salt and pepper.
Q3: Can I add vegetables to these wraps? If so, which ones would you recommend?
A: Definitely! Adding vegetables is a great way to boost the nutritional value and flavor of these wraps. Some excellent options include diced bell peppers (any color), sliced onions, chopped spinach, diced tomatoes, avocado slices, and even some grilled zucchini or eggplant. Just be sure to dice the vegetables into small pieces so they fit easily inside the wraps.
Q4: How can I make these wraps vegetarian?
A: To make these wraps vegetarian, simply substitute the chicken with a plant-based protein source. Some good options include grilled or sautéed tofu, black beans, chickpeas, or a vegetarian chicken substitute. You can also add extra vegetables to bulk up the filling and ensure that the wraps are still satisfying.
Q5: Can I prepare these wraps ahead of time?
A: While these wraps are best served immediately, you can definitely prepare the individual components ahead of time. Cook the chicken, shred the cheese, and chop any vegetables you plan to use. Store each component separately in the refrigerator. When you’re ready to assemble the wraps, simply follow the instructions and grill them until warm and crispy. This can save you valuable time on busy weeknights. Assembled uncooked wraps can be made up to 6 hours ahead and kept wrapped in the refrigerator.

Cheesy Chicken Garlic Wraps
Ingredients
- → Main Ingredients
- 2 large chicken breasts diced into ½-inch cubes
- 4 large flour tortillas approximately 10-12 inches in diameter
- → Seasonings & Oil
- 1 tablespoon olive oil
- 2 teaspoons garlic powder
- 1 teaspoon onion powder
- 1 teaspoon paprika
- Salt and freshly ground black pepper to taste
- → Cheese & Sauce
- 1 cup shredded cheddar cheese
- 1/2 cup shredded mozzarella cheese
- 1/2 cup creamy garlic sauce store-bought or homemade
- → Garnish Optional
- Fresh parsley chopped
Instructions
- Step 1: Season the Chicken
- In a medium-sized mixing bowl, combine the diced chicken with the olive oil, garlic powder, onion powder, paprika, salt, and pepper. Use your hands or a spoon to ensure that the chicken is evenly coated with the seasonings. The olive oil helps the seasonings adhere to the chicken and also adds a touch of moisture, preventing it from drying out during cooking. Don’t be afraid to be generous with the seasonings – they are the foundation of the wrap’s flavor profile.
- Step 2: Cook the Chicken
- Heat a non-stick pan or skillet over medium heat. Once the pan is hot, add the seasoned chicken and cook for approximately 6-8 minutes, stirring occasionally, until the chicken is golden brown and fully cooked through. It’s important to ensure that the chicken is cooked to an internal temperature of 165°F (74°C) to ensure food safety. Overcooking the chicken can result in a dry and rubbery texture, so keep a close eye on it and remove it from the heat once it’s cooked through. Remove from heat and let cool slightly.
- Step 3: Assemble the Wraps
- Lay the flour tortillas out on a flat surface. Spread a generous layer of creamy garlic sauce over each tortilla, leaving a small border around the edges. The garlic sauce adds a creamy, tangy element to the wraps that complements the savory chicken and melted cheese perfectly. Evenly distribute the cooked chicken on top of the garlic sauce, ensuring that each wrap gets a fair share. Sprinkle the shredded cheddar and mozzarella cheese over the chicken, covering it completely.
- Step 4: Grill the Wraps
- Fold the tortillas over the filling, creating a wrap. In the same non-stick pan, grill the folded wraps for 2-3 minutes on each side, or until the cheese is melted, the tortillas are golden brown and crispy, and warm. Gently press down on the wraps with a spatula to ensure even contact with the pan and promote even browning. Be careful not to burn the tortillas – keep a close eye on them and adjust the heat as needed.
- Step 5: Serve & Enjoy
- Remove the grilled wraps from the pan and transfer them to a cutting board. Use a sharp knife to cut each wrap in half diagonally. This makes them easier to handle and eat. Garnish with freshly chopped parsley, if desired, for a touch of freshness and visual appeal. Serve immediately while the wraps are warm and the cheese is melted and gooey.