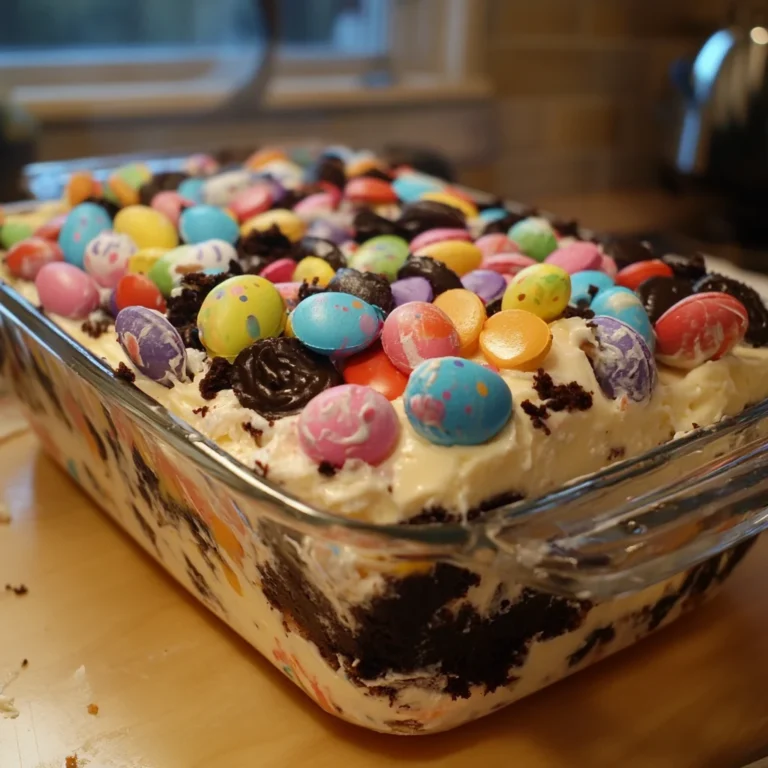
Easter Dirt Cups

Description of this recipe:
Easter Dirt Cups are a delightful and whimsical dessert that combines the rich flavors of chocolate with a fun, playful presentation. Layered with crushed chocolate sandwich cookies, a creamy chocolate filling, and topped with gummy worms and edible grass, these cups are perfect for celebrating Easter or any springtime gathering. They offer a nostalgic nod to childhood while providing a delicious treat that both kids and adults will love.
Why you will love this recipe:
This recipe is not only simple and quick to prepare, but it also allows for creativity in presentation. The combination of creamy chocolate pudding and crunchy cookie crumbs creates a delightful texture that is sure to please any chocolate lover. Plus, the option to decorate with gummy worms and edible grass makes it a fun project to involve kids in the kitchen. With its eye-catching appearance and delicious taste, the Easter Dirt Cup is sure to become a favorite at your holiday table.
Introduction
As the days grow longer and the flowers begin to bloom, springtime brings with it a sense of renewal and joy. One of the most cherished holidays during this season is Easter, a time for family gatherings, festive meals, and of course, sweet treats. Among the many desserts that grace our tables, Easter Dirt Cups stand out for their playful presentation and delicious flavor. This recipe is not only a visual delight but also a treat that evokes fond memories of childhood. Whether you are hosting an Easter brunch, a spring party, or simply looking for a fun dessert to make with the kids, these cups are sure to impress.
The beauty of Easter Dirt Cups lies in their versatility. You can easily customize them with different toppings, flavors, or even by using different types of cookies. The process is straightforward, making it an excellent choice for novice bakers and experienced cooks alike. So, roll up your sleeves and let’s dive into the world of these delightful chocolate cups!
Ingredients:
- 1 package (14 oz) chocolate sandwich cookies (Oreos), crushed
- 1 package (8 oz) cream cheese, softened
- 2 cups cold milk
- 1 package (3.4 oz) instant chocolate pudding mix
- 1 container (8 oz) whipped topping (like Cool Whip), thawed
- Gummy worms and edible grass for decoration (optional)
- Mini plastic flower pots or clear cups for serving

Preparation:
Step 1: Begin by crushing the chocolate sandwich cookies in a resealable plastic bag. Use a rolling pin or your hands to break them into fine crumbs. This will serve as the “dirt” layer for your cups, so aim for a texture similar to sand. You can also use a food processor for a finer crumb, but be careful not to turn them into powder.
Step 2: In a large mixing bowl, combine the softened cream cheese and cold milk. Use an electric mixer to beat them together until the mixture is smooth and creamy. This step is crucial for ensuring that there are no lumps in your filling. The cream cheese adds a rich flavor and creamy texture that elevates the dessert.
Step 3: Once the cream cheese and milk are well combined, add the instant chocolate pudding mix to the bowl. Continue mixing until the pudding is fully incorporated and the mixture thickens. This will create a rich, chocolatey layer that pairs perfectly with the cookie crumbs. The pudding mix not only adds flavor but also helps to stabilize the filling.
Step 4: Gently fold in the thawed whipped topping into the pudding mixture. This will lighten the filling and give it a fluffy texture, making it even more enjoyable to eat. Be careful not to deflate the whipped topping; fold it in until just combined. This step is essential for achieving the perfect balance of creaminess and lightness.
Step 5: Now that your filling is ready, it’s time to assemble the cups. Begin by layering a generous amount of the cookie crumbs at the bottom of each mini pot or clear cup. Follow this with a layer of the chocolate cream mixture. Repeat the layers until you reach the top of the cups, finishing with a layer of cookie crumbs. For an extra touch, you can reserve some cookie crumbs to sprinkle on top. Once assembled, decorate with gummy worms and edible grass for a fun, festive look.
COOKING Rating: ★★★★☆
Serving Suggestions:
These Easter Dirt Cups can be served as individual desserts at a buffet or as a fun centerpiece at your Easter table. Pair them with other spring-themed treats like carrot cake or fruit tarts for a colorful dessert spread. For an interactive twist, set up a “decorate your own dirt cup” station where guests can add their favorite toppings.
Tips:
- For a gluten-free version, use gluten-free chocolate sandwich cookies.
- Experiment with different flavors of pudding, such as vanilla or butterscotch, for a unique twist.
- If you want to make the dessert a day in advance, prepare the filling and store it in the refrigerator until you’re ready to assemble the cups.
- Consider using crushed graham crackers or vanilla wafers for a different “dirt” flavor.
- For added fun, use themed decorations like candy flowers or chocolate bunnies.
Prep Time: 20 minutes
Cook Time: 0 minutes
Total Time: 20 minutes (plus chilling time if desired)
Nutritional Information (per serving):
Calories: 250
Protein: 3g
Sodium: 200mg
Conclusion
Easter Dirt Cups are the perfect combination of fun and flavor, making them an ideal dessert for celebrating the joys of spring. With their easy preparation and delightful presentation, these cups are sure to be a hit at any gathering. Whether enjoyed by children or adults, they bring a sense of nostalgia and whimsy that makes every bite a treat. So gather your ingredients, invite the family into the kitchen, and create a memorable dessert that will leave everyone smiling.
Questions and Answers about this recipe:
- Can I make Easter Dirt Cups ahead of time?
Yes, you can prepare the filling a day in advance and store it in the refrigerator. Assemble the cups just before serving for the best texture. - What can I substitute for the cream cheese if I want a lighter option?
You can use Greek yogurt or a light whipped cream cheese alternative for a lower-calorie option. - Are there any variations I can try?
Absolutely! You can experiment with different types of cookies, such as chocolate chip or vanilla wafers, or use different flavors of pudding to create your own unique version. - How can I make this dessert more festive?
Consider adding colorful sprinkles, edible glitter, or themed decorations like chocolate bunnies or candy flowers for a more festive touch. - Can I use dairy-free options for this recipe?
Yes, you can use dairy-free cream cheese, almond or coconut milk, and a dairy-free whipped topping to make this dessert suitable for those with dairy allergies or lactose intolerance.