Easter Poke Cake
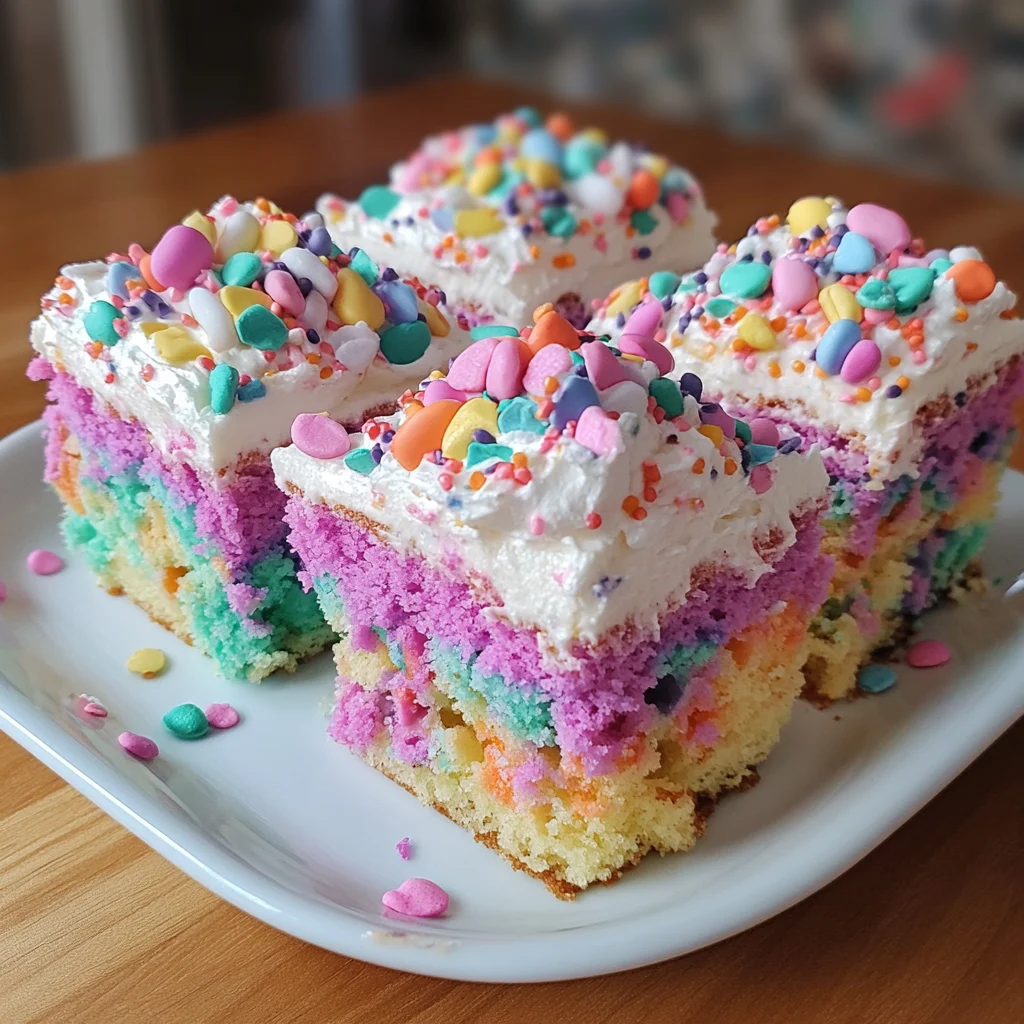
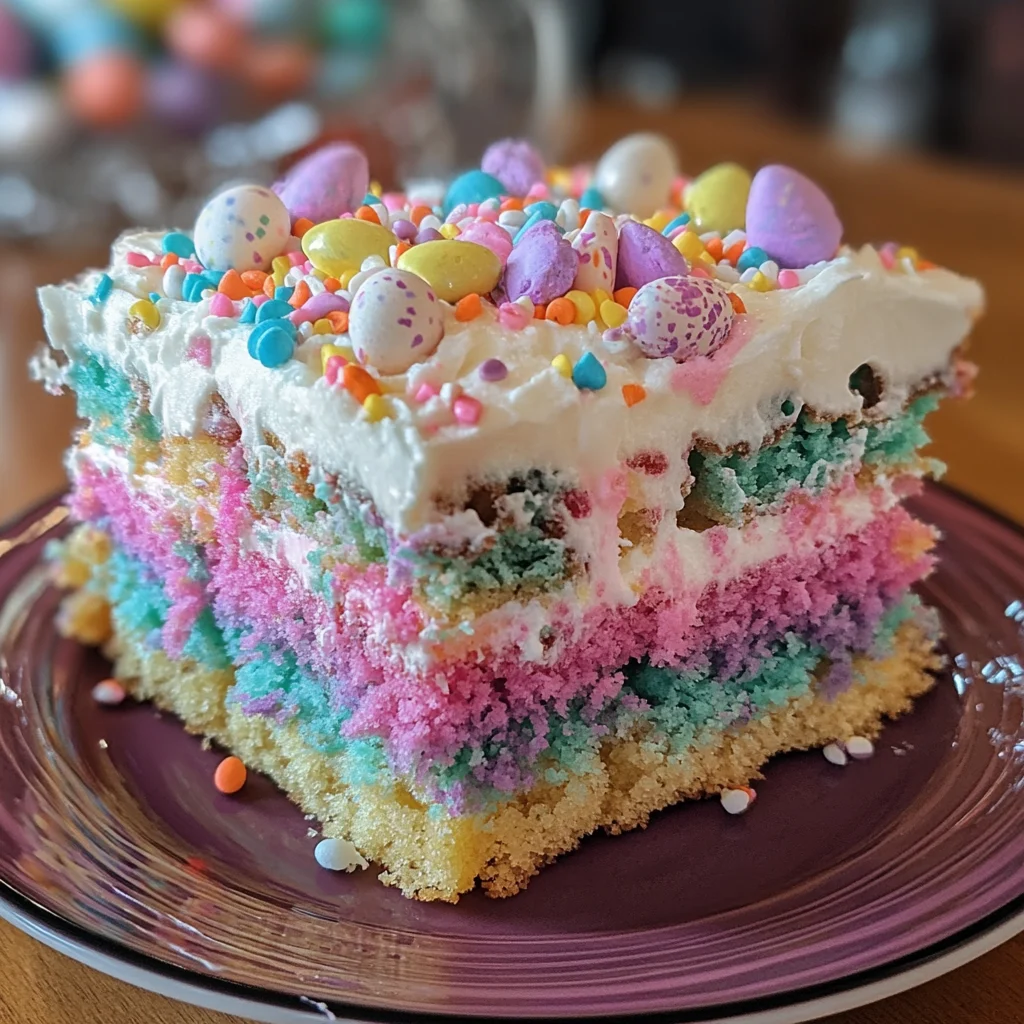
Description of this recipe: This Easter Poke Cake is a delightful and festive dessert perfect for celebrating the spring season. A moist white cake is marbled with pastel colors, poked with holes, and infused with creamy vanilla pudding before being topped with a cloud of whipped cream and colorful sprinkles. It’s a visually stunning and incredibly delicious treat that will be a hit at any Easter gathering.
Why you will love this recipe: This cake is incredibly easy to make, using simple ingredients and straightforward instructions. The pastel colors and festive sprinkles make it a showstopper, and the combination of moist cake, creamy pudding, and light whipped cream is simply irresistible. It’s a guaranteed crowd-pleaser that’s both fun to create and even more fun to eat! Plus, you can customize it with your favorite pudding flavors and toppings.
Introduction
Easter is a time for celebration, family gatherings, and, of course, delicious food! And what better way to end your Easter meal than with a vibrant and flavorful dessert? This Easter Poke Cake is the perfect embodiment of the holiday spirit – it’s colorful, festive, and utterly delicious.
The beauty of this recipe lies in its simplicity. You start with a basic white cake mix, transform it with vibrant pastel colors, and then poke holes throughout the baked cake to create a canvas for a creamy vanilla pudding filling. The pudding seeps into every nook and cranny, infusing the cake with moisture and flavor. Finally, a generous layer of Cool Whip provides a light and airy topping, perfectly complemented by a sprinkle of colorful Easter-themed decorations.
This poke cake is not only a feast for the taste buds but also a visual delight. The marbled pastel colors create a stunning effect that is sure to impress your guests. And the best part? It’s incredibly easy to make, even for novice bakers. So, gather your ingredients, put on your Easter bonnet, and get ready to create a dessert that will be the highlight of your holiday celebration!
Ingredients:
- 1 box of white cake mix (and any ingredients it requires, such as eggs, oil, and water – follow the instructions on the box for these additions)
- Gel food coloring (assorted pastel colors, such as pink, blue, green, yellow, and lavender)
- 2 boxes (3.4 oz each) of instant vanilla pudding mix
- 4 cups of milk (for preparing the pudding)
- 1 container (8 oz) of Cool Whip, thawed
- Easter-themed sprinkles (optional, for garnish)
Preparation:
Step 1: Prepare the Cake Batter and Color It
Begin by preheating your oven according to the instructions on your white cake mix box. Grease and flour a 9×13 inch baking pan (or spray with baking spray).
In a large bowl, prepare the white cake mix according to the package directions. Once the batter is smooth, divide it evenly into separate bowls – the number of bowls should match the number of pastel colors you plan to use.
Add a few drops of gel food coloring to each bowl, one color per bowl. Gently stir until the color is evenly distributed throughout the batter. Remember, a little food coloring goes a long way, so start with a small amount and add more until you achieve your desired pastel shade. Avoid overmixing the batter at this stage, as it can toughen the cake.
Step 2: Create the Marbled Effect and Bake the Cake
Pour spoonfuls of each colored batter randomly into the prepared baking pan. Then, using a skewer or a butter knife, gently swirl the batters together to create a marbled effect. Be careful not to overmix, as this will blend the colors together too much and result in a muddy appearance. You want distinct swirls of color to be visible.
Bake the cake according to the package instructions. The cake is done when a toothpick inserted into the center comes out clean.
Step 3: Poke Holes in the Cake
Once the cake is baked, remove it from the oven and let it cool slightly for about 10-15 minutes. This allows the cake to firm up a bit, making it easier to poke holes without it crumbling.
Using the end of a wooden spoon, the back of a fork, or a straw, poke holes all over the cake, about an inch apart. The holes should go almost all the way to the bottom of the cake, but not completely through. The more holes you poke, the more pudding will seep into the cake, resulting in a moister and more flavorful dessert.
Step 4: Prepare the Pudding and Pour It Over the Cake
In a large bowl, whisk together the instant vanilla pudding mix with the milk until smooth. Continue whisking for about 2 minutes until the pudding begins to thicken slightly. It’s important to use instant pudding mix for this recipe, as it will set up quickly and prevent the cake from becoming soggy.
Pour the pudding evenly over the cake, making sure to fill all the holes. Use a spatula to spread the pudding over the entire surface of the cake, ensuring that it seeps into every nook and cranny.
Step 5: Chill the Cake and Add the Topping
Cover the cake with plastic wrap and place it in the refrigerator to chill for at least two hours, or preferably longer. Chilling allows the pudding to set completely and the flavors to meld together, resulting in a more cohesive and flavorful cake.
Once the cake is thoroughly chilled, spread the thawed Cool Whip evenly over the top. If you prefer, you can use homemade whipped cream instead of Cool Whip for a less sweet option.
Finally, sprinkle the cake with Easter-themed sprinkles for an extra touch of festivity. You can use pastel-colored sprinkles, edible glitter, or any other decorations that you like.
Step 6: Serve and Enjoy!
Keep the cake refrigerated until ready to serve. When serving, slice the cake into squares and enjoy the delightful combination of moist cake, creamy pudding, and light whipped topping.
COOKING Rating:
- Ease: Easy
- Taste: Delicious
- Appearance: Stunning
Serving Suggestions:
- Serve chilled as a dessert after your Easter meal.
- Pair it with a scoop of vanilla ice cream or fresh berries.
- Enjoy it with a cup of coffee or tea.
- This cake is perfect for potlucks, parties, and other gatherings.
Tips:
- Don’t overmix the cake batter: Overmixing can develop the gluten in the flour, resulting in a tough cake.
- Use gel food coloring: Gel food coloring is more concentrated than liquid food coloring, so you’ll need less of it to achieve vibrant pastel colors.
- Poke plenty of holes: The more holes you poke in the cake, the more pudding will seep in, resulting in a moister and more flavorful dessert.
- Chill the cake thoroughly: Chilling the cake allows the pudding to set completely and the flavors to meld together.
- Get creative with the toppings: Feel free to experiment with different sprinkles, candies, and other decorations to personalize your cake.
Prep Time:
20 minutes
Cook Time:
As per cake mix instructions (usually around 30-35 minutes)
Total Time:
Approximately 3 hours (including chilling time)
Nutritional Information:
(Note: Nutritional information is approximate and will vary depending on the specific ingredients used.)
Calories: 350-400 per serving
Protein: 3-4 grams per serving
Sodium: 200-250 mg per serving
Conclusion
This Easter Poke Cake is a delightful and easy-to-make dessert that is sure to be a hit at any Easter celebration. With its vibrant pastel colors, moist cake, creamy pudding filling, and light whipped topping, it’s a feast for both the eyes and the taste buds. So, gather your ingredients, put on your Easter bonnet, and get ready to create a dessert that will be the highlight of your holiday meal. Enjoy!
Questions and Answers:
Q1: Can I use a different type of cake mix?
A: Absolutely! While white cake mix is the traditional choice for this recipe, you can certainly experiment with other flavors. Vanilla, lemon, or even a light butter cake mix would all work well. Just be mindful of the colors, as some cake mixes may have a slightly darker hue that could affect the vibrancy of the pastel colors.
Q2: Can I use sugar-free pudding mix?
A: Yes, you can definitely use sugar-free instant vanilla pudding mix to reduce the sugar content of the cake. The texture and flavor will be very similar to the regular pudding mix, so it won’t significantly alter the overall taste of the cake.
Q3: Can I make this cake ahead of time?
A: Yes, this cake is actually better when made ahead of time! The flavors meld together beautifully as it chills in the refrigerator. You can prepare the cake, poke the holes, pour in the pudding, and chill it for up to 24 hours before adding the Cool Whip and sprinkles just before serving.
Q4: What can I use instead of Cool Whip?
A: If you prefer a less sweet option or want to avoid using Cool Whip, you can easily substitute it with homemade whipped cream. Simply whip heavy cream with a little powdered sugar and vanilla extract until stiff peaks form. Be sure to keep the whipped cream refrigerated until ready to use.
Q5: Can I freeze this cake?
A: While you can freeze this cake, it’s not recommended, especially if it has already been topped with Cool Whip or whipped cream. Freezing can alter the texture of the cake and the topping, making it soggy or icy. If you must freeze it, do so before adding the topping, and wrap the cake tightly in plastic wrap and aluminum foil. Thaw it completely in the refrigerator before adding the topping and serving.

Easter Poke Cake
Ingredients
- 1 box of white cake mix and any ingredients it requires, such as eggs, oil, and water – follow the instructions on the box for these additions
- Gel food coloring assorted pastel colors, such as pink, blue, green, yellow, and lavender
- 2 boxes 3.4 oz each of instant vanilla pudding mix
- 4 cups of milk for preparing the pudding
- 1 container 8 oz of Cool Whip, thawed
- Easter-themed sprinkles optional, for garnish
Instructions
- Step 1: Prepare the Cake Batter and Color It
- Begin by preheating your oven according to the instructions on your white cake mix box. Grease and flour a 9×13 inch baking pan (or spray with baking spray).
- In a large bowl, prepare the white cake mix according to the package directions. Once the batter is smooth, divide it evenly into separate bowls – the number of bowls should match the number of pastel colors you plan to use.
- Add a few drops of gel food coloring to each bowl, one color per bowl. Gently stir until the color is evenly distributed throughout the batter. Remember, a little food coloring goes a long way, so start with a small amount and add more until you achieve your desired pastel shade. Avoid overmixing the batter at this stage, as it can toughen the cake.
- Step 2: Create the Marbled Effect and Bake the Cake
- Pour spoonfuls of each colored batter randomly into the prepared baking pan. Then, using a skewer or a butter knife, gently swirl the batters together to create a marbled effect. Be careful not to overmix, as this will blend the colors together too much and result in a muddy appearance. You want distinct swirls of color to be visible.
- Bake the cake according to the package instructions. The cake is done when a toothpick inserted into the center comes out clean.
- Step 3: Poke Holes in the Cake
- Once the cake is baked, remove it from the oven and let it cool slightly for about 10-15 minutes. This allows the cake to firm up a bit, making it easier to poke holes without it crumbling.
- Using the end of a wooden spoon, the back of a fork, or a straw, poke holes all over the cake, about an inch apart. The holes should go almost all the way to the bottom of the cake, but not completely through. The more holes you poke, the more pudding will seep into the cake, resulting in a moister and more flavorful dessert.
- Step 4: Prepare the Pudding and Pour It Over the Cake
- In a large bowl, whisk together the instant vanilla pudding mix with the milk until smooth. Continue whisking for about 2 minutes until the pudding begins to thicken slightly. It’s important to use instant pudding mix for this recipe, as it will set up quickly and prevent the cake from becoming soggy.
- Pour the pudding evenly over the cake, making sure to fill all the holes. Use a spatula to spread the pudding over the entire surface of the cake, ensuring that it seeps into every nook and cranny.
- Step 5: Chill the Cake and Add the Topping
- Cover the cake with plastic wrap and place it in the refrigerator to chill for at least two hours, or preferably longer. Chilling allows the pudding to set completely and the flavors to meld together, resulting in a more cohesive and flavorful cake.
- Once the cake is thoroughly chilled, spread the thawed Cool Whip evenly over the top. If you prefer, you can use homemade whipped cream instead of Cool Whip for a less sweet option.
- Finally, sprinkle the cake with Easter-themed sprinkles for an extra touch of festivity. You can use pastel-colored sprinkles, edible glitter, or any other decorations that you like.
- Step 6: Serve and Enjoy!
- Keep the cake refrigerated until ready to serve. When serving, slice the cake into squares and enjoy the delightful combination of moist cake, creamy pudding, and light whipped topping.