Lemon Crinkle Cookies
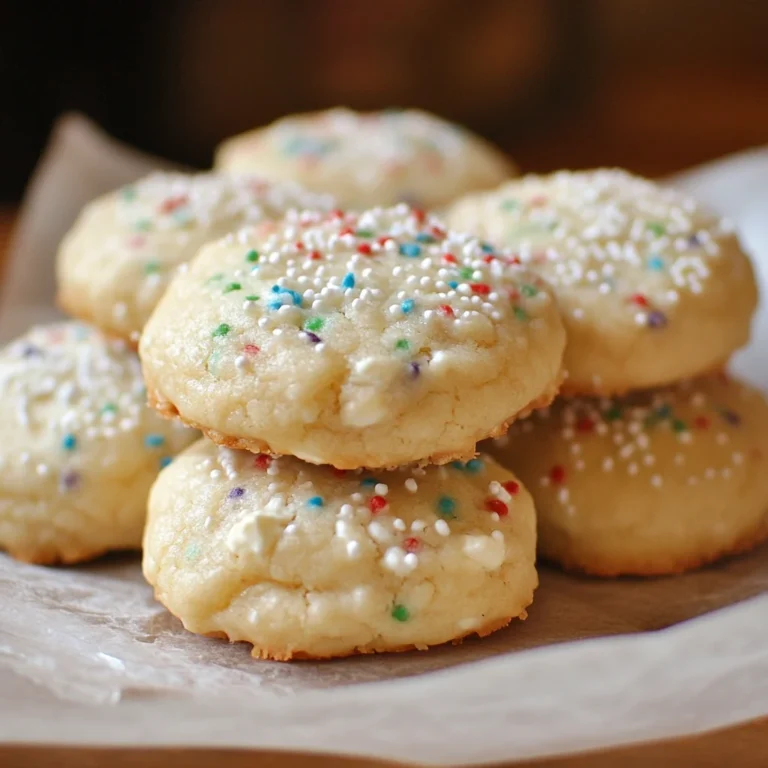
Description of this recipe: These Lemon Crinkle Cookies are the perfect balance of sweet and tangy, offering a soft, chewy interior and a delightfully crisp, crackled exterior. Infused with bright lemon zest and juice, and adorned with playful pastel colors, these cookies are as pleasing to the eye as they are to the palate. Unlike many crinkle cookie recipes, these are made from scratch, ensuring a superior flavor and texture.
Why you will love this recipe: You’ll adore these Lemon Crinkle Cookies because they’re:
- Bursting with Lemon Flavor: The combination of fresh lemon juice and zest delivers an unmistakable, zesty punch that will awaken your taste buds.
- Soft and Chewy Inside, Crisp Outside: The signature crinkle effect not only looks stunning but also creates a wonderful textural contrast.
- Visually Stunning: The pastel colors make these cookies ideal for parties, holidays, or any occasion where you want to impress.
- Made from Scratch: No cake mix shortcuts here! This recipe is crafted with care from simple ingredients for a truly homemade taste.
- Easy to Make: Despite the impressive results, the recipe is straightforward and perfect for bakers of all skill levels.
- Freezable: Make a batch ahead of time and enjoy these delightful cookies whenever the craving strikes!
Introduction
Lemon Crinkle Cookies are a beloved classic for a reason: their irresistible combination of textures and flavors is simply divine. The vibrant lemon flavor, combined with the satisfyingly soft and chewy interior and the crisp, sugary exterior, makes for a truly memorable treat. What sets this recipe apart is that it’s made completely from scratch, allowing you to control every aspect of the flavor and texture.
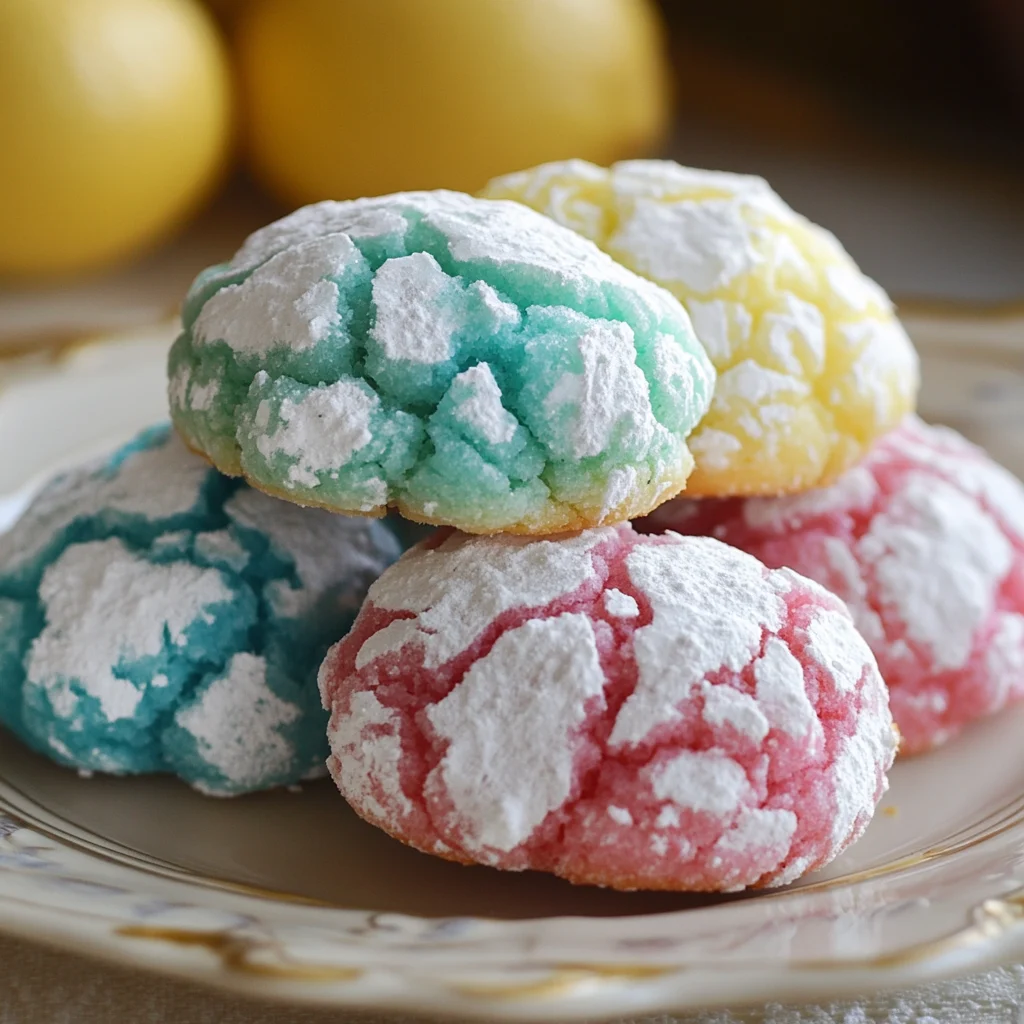
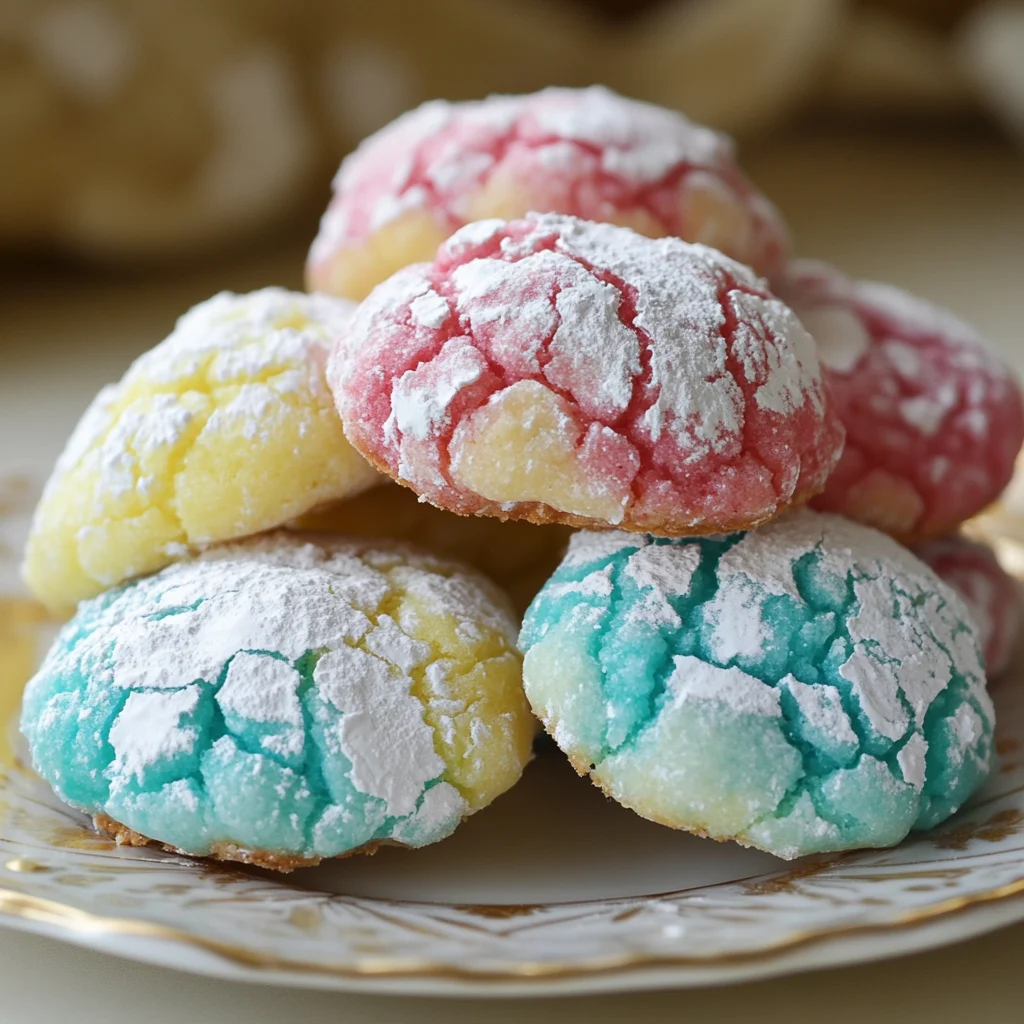
The delightful crackled appearance of these cookies is achieved by rolling the dough balls in powdered sugar before baking. As the cookies bake, they spread and the powdered sugar coating cracks, creating a beautiful, snowflake-like pattern.
This recipe takes the classic Lemon Crinkle Cookie a step further by incorporating pastel food coloring, adding a touch of whimsy and making them perfect for springtime gatherings, Easter celebrations, or simply brightening up a dreary day. The colors are optional, of course, but they truly elevate the visual appeal of these already delightful treats.
Get ready to fill your kitchen with the intoxicating aroma of lemon and the sweet anticipation of enjoying these little bursts of sunshine. Let’s bake!
Ingredients:
- 1 cup (2 sticks) Unsalted Butter, softened
- 2 cups Granulated Sugar
- 4 Large Eggs
- 4 tablespoons Fresh Lemon Juice
- 4 tablespoons Lemon Zest (from about 2-3 lemons)
- 4 teaspoons Baking Powder
- 4 ½ cups All-Purpose Flour
- Wilton Color Right Food Coloring – Pink, Blue, Yellow (or gel food coloring of your choice)
- 1/2-1 cup Powdered Sugar, for rolling
Preparation:
Step 1: Cream the Butter and Sugar: In a large mixing bowl (or the bowl of a stand mixer), cream together the softened butter and granulated sugar until light and fluffy. This process is crucial for incorporating air into the dough, resulting in a tender cookie. Creaming should take about 3-5 minutes. You’ll notice the mixture becomes paler and significantly more voluminous as air is incorporated. Scrape down the sides of the bowl occasionally to ensure everything is evenly combined.
Step 2: Add the Eggs: Beat in the eggs one at a time, mixing well after each addition. Make sure each egg is fully incorporated before adding the next. If the mixture appears curdled after adding the eggs, don’t worry! This is normal. Continue mixing, and it will come together as you add the remaining ingredients.
Step 3: Incorporate the Lemon: Add the fresh lemon juice and lemon zest to the batter. Mix until fully incorporated, being careful not to overmix at this point. The lemon zest is key to the intense lemon flavor, so be sure to use freshly grated zest for the best results.
Step 4: Add the Baking Powder: Add the baking powder and mix.
Step 5: Gradually Add the Flour: Gradually add the all-purpose flour, mixing a third at a time, until just combined. Be careful not to overmix the dough, as this can develop the gluten in the flour and result in a tough cookie. Mix until the flour is just incorporated, leaving a slightly sticky dough.
Step 6: Divide and Color the Dough: Divide the dough into four equal portions. In separate bowls, use the food coloring to tint the dough pink, yellow, blue, and purple. The Wilton Color Right food coloring is recommended for its concentrated color and ease of use. If using gel food coloring, use a toothpick to add a small amount at a time, mixing well until you achieve the desired shade. Remember, a little goes a long way!
- Pink: 3 drops of Pink
- Blue: 3 drops of Blue
- Yellow: 3 drops of Yellow
- Purple: 3 drops of Pink and 1 drop of Blue
Step 7: Chill the Dough: Cover the bowls with plastic wrap and refrigerate the dough for at least 2 hours, or preferably overnight. Chilling the dough is essential for preventing the cookies from spreading too much during baking. It also allows the flavors to meld together and the dough to become easier to handle.
Step 8: Preheat the Oven and Prepare Baking Sheets: Preheat your oven to 350°F (175°C). Line baking sheets with parchment paper or silicone baking mats. This will prevent the cookies from sticking and make cleanup a breeze.
Step 9: Roll and Coat the Dough: Remove the dough from the refrigerator. Roll the dough into 1-inch balls. Roll each ball in powdered sugar, ensuring it is thoroughly coated. The powdered sugar is what creates the signature crinkle effect.
Step 10: Bake the Cookies: Place the coated dough balls on the prepared baking sheets, leaving about 2 inches between each cookie to allow for spreading. Bake for 8-10 minutes, or until the edges are lightly golden brown and the centers are set.
Step 11: Cool the Cookies: Remove the baking sheets from the oven and let the cookies cool on the baking sheets for a few minutes before transferring them to a wire rack to cool completely.
COOKING Rating:
- Difficulty: Easy
- Flavor Profile: Sweet, Tangy, Zesty
- Texture: Soft, Chewy, Crisp
Serving Suggestions:
- Enjoy these cookies with a glass of cold milk or a cup of hot tea.
- Serve them as part of a dessert platter alongside other cookies and treats.
- Package them in a decorative box as a thoughtful gift for friends and family.
- Bring them to a potluck or bake sale for a guaranteed crowd-pleaser.
- Enjoy them as a sweet and cheerful afternoon snack.
Tips:
- Use High-Quality Ingredients: Using fresh, high-quality ingredients, especially lemon juice and zest, will significantly enhance the flavor of these cookies.
- Don’t Overmix the Dough: Overmixing the dough will develop the gluten in the flour, resulting in a tough cookie. Mix only until the ingredients are just combined.
- Chill the Dough: Chilling the dough is essential for preventing the cookies from spreading too much during baking.
- Don’t Overbake the Cookies: Overbaking the cookies will result in a dry, crumbly texture. Bake until the edges are lightly golden brown and the centers are set.
- Store Properly: Store the cookies in an airtight container to maintain their freshness.
Prep Time: 10 minutes
Cook Time: 10 minutes
Total Time: 20 minutes (plus 2 hours chilling time)
Nutritional Information: (Approximate per cookie)
- Calories: 120
- Protein: 1 gram
- Sodium: 30mg
Conclusion
These Lemon Crinkle Cookies are a delightful treat that’s perfect for any occasion. With their vibrant lemon flavor, soft and chewy texture, and beautiful pastel colors, they’re sure to bring a smile to anyone’s face. This made-from-scratch recipe is easy to follow and guarantees a superior taste and texture compared to cake mix versions. So, gather your ingredients, preheat your oven, and get ready to bake up a batch of sunshine!
Questions and Answers:
Q1: Can I use bottled lemon juice instead of fresh lemon juice?
A: While fresh lemon juice is always recommended for the best flavor, you can use bottled lemon juice in a pinch. However, keep in mind that the flavor won’t be quite as vibrant or authentic. Aim for a high-quality bottled lemon juice that is not overly acidic or artificial-tasting. You might also want to add a touch more lemon zest to compensate for the less intense flavor of bottled juice.
Q2: What if my dough is too sticky to roll into balls?
A: If your dough is too sticky, it likely means it hasn’t been chilled long enough. Place the dough back in the refrigerator for another 30 minutes to an hour to allow it to firm up. You can also lightly flour your hands before rolling the dough to prevent it from sticking.
Q3: Can I use different food coloring to customize the cookies?
A: Absolutely! Feel free to experiment with different colors to match your theme or personal preference. Gel food coloring is recommended for its concentrated color and minimal impact on the dough’s consistency. You can also use natural food coloring options, such as beet juice for pink or spinach juice for green, although these may slightly alter the flavor and texture of the cookies.
Q4: Can I freeze these cookies?
A: Yes, these cookies freeze beautifully! To freeze them, allow them to cool completely on a wire rack. Then, place them in a single layer on a baking sheet lined with parchment paper and freeze for about 30 minutes, or until solid. Once frozen, transfer them to an airtight container or freezer bag. They can be stored in the freezer for up to 3 months. When you’re ready to eat them, simply thaw them at room temperature for about 30 minutes.
Q5: My cookies didn’t crinkle. What did I do wrong?
A: Several factors can prevent cookies from crinkling. The most common reasons are:
- Not enough powdered sugar: Make sure the dough balls are thoroughly coated in powdered sugar.
- Dough not chilled enough: Chilling the dough is essential for preventing the cookies from spreading too much and allowing the powdered sugar to crack.
- Oven temperature too low: Ensure your oven is properly preheated to 350°F (175°C).
- Overmixing the dough: Overmixing can develop the gluten in the flour, resulting in a less pliable dough that doesn’t crinkle as easily.
- Too much fat: Too much butter, or using butter that is too soft, can prevent crinkling.
By addressing these potential issues, you should be able to achieve the signature crinkled appearance in your next batch of Lemon Crinkle Cookies.

Lemon Crinkle Cookies
Ingredients
- 1 cup 2 sticks Unsalted Butter, softened
- 2 cups Granulated Sugar
- 4 Large Eggs
- 4 tablespoons Fresh Lemon Juice
- 4 tablespoons Lemon Zest from about 2-3 lemons
- 4 teaspoons Baking Powder
- 4 ½ cups All-Purpose Flour
- Wilton Color Right Food Coloring – Pink Blue, Yellow (or gel food coloring of your choice)
- 1/2-1 cup Powdered Sugar for rolling
Instructions
- Step 1: Cream the Butter and Sugar: In a large mixing bowl (or the bowl of a stand mixer), cream together the softened butter and granulated sugar until light and fluffy. This process is crucial for incorporating air into the dough, resulting in a tender cookie. Creaming should take about 3-5 minutes. You’ll notice the mixture becomes paler and significantly more voluminous as air is incorporated. Scrape down the sides of the bowl occasionally to ensure everything is evenly combined.
- Step 2: Add the Eggs: Beat in the eggs one at a time, mixing well after each addition. Make sure each egg is fully incorporated before adding the next. If the mixture appears curdled after adding the eggs, don’t worry! This is normal. Continue mixing, and it will come together as you add the remaining ingredients.
- Step 3: Incorporate the Lemon: Add the fresh lemon juice and lemon zest to the batter. Mix until fully incorporated, being careful not to overmix at this point. The lemon zest is key to the intense lemon flavor, so be sure to use freshly grated zest for the best results.
- Step 4: Add the Baking Powder: Add the baking powder and mix.
- Step 5: Gradually Add the Flour: Gradually add the all-purpose flour, mixing a third at a time, until just combined. Be careful not to overmix the dough, as this can develop the gluten in the flour and result in a tough cookie. Mix until the flour is just incorporated, leaving a slightly sticky dough.
- Step 6: Divide and Color the Dough: Divide the dough into four equal portions. In separate bowls, use the food coloring to tint the dough pink, yellow, blue, and purple. The Wilton Color Right food coloring is recommended for its concentrated color and ease of use. If using gel food coloring, use a toothpick to add a small amount at a time, mixing well until you achieve the desired shade. Remember, a little goes a long way!
- Pink: 3 drops of Pink
- Blue: 3 drops of Blue
- Yellow: 3 drops of Yellow
- Purple: 3 drops of Pink and 1 drop of Blue
- Step 7: Chill the Dough: Cover the bowls with plastic wrap and refrigerate the dough for at least 2 hours, or preferably overnight. Chilling the dough is essential for preventing the cookies from spreading too much during baking. It also allows the flavors to meld together and the dough to become easier to handle.
- Step 8: Preheat the Oven and Prepare Baking Sheets: Preheat your oven to 350°F (175°C). Line baking sheets with parchment paper or silicone baking mats. This will prevent the cookies from sticking and make cleanup a breeze.
- Step 9: Roll and Coat the Dough: Remove the dough from the refrigerator. Roll the dough into 1-inch balls. Roll each ball in powdered sugar, ensuring it is thoroughly coated. The powdered sugar is what creates the signature crinkle effect.
- Step 10: Bake the Cookies: Place the coated dough balls on the prepared baking sheets, leaving about 2 inches between each cookie to allow for spreading. Bake for 8-10 minutes, or until the edges are lightly golden brown and the centers are set.
- Step 11: Cool the Cookies: Remove the baking sheets from the oven and let the cookies cool on the baking sheets for a few minutes before transferring them to a wire rack to cool completely.