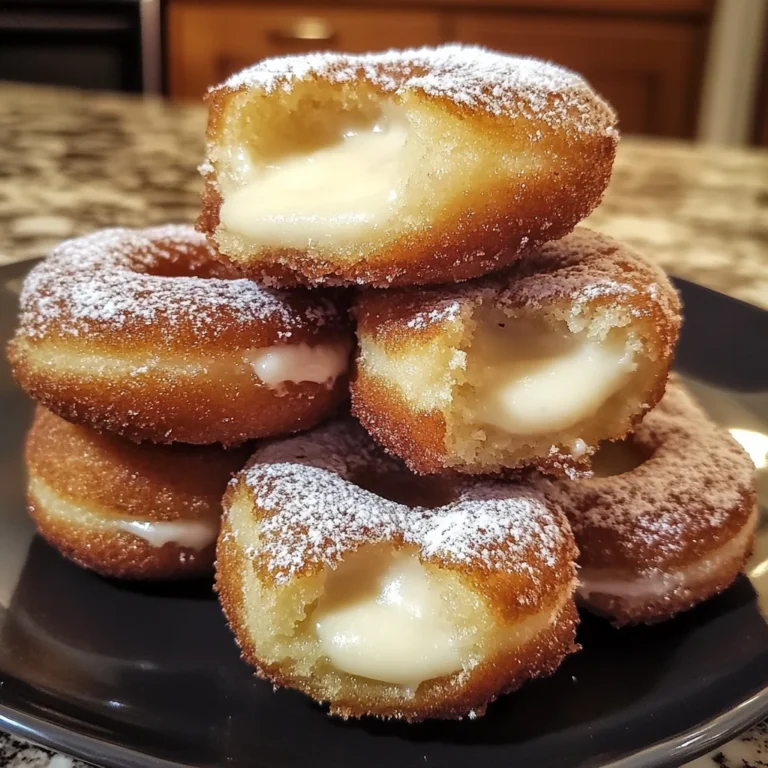
Paula Deen’s Banana Pudding
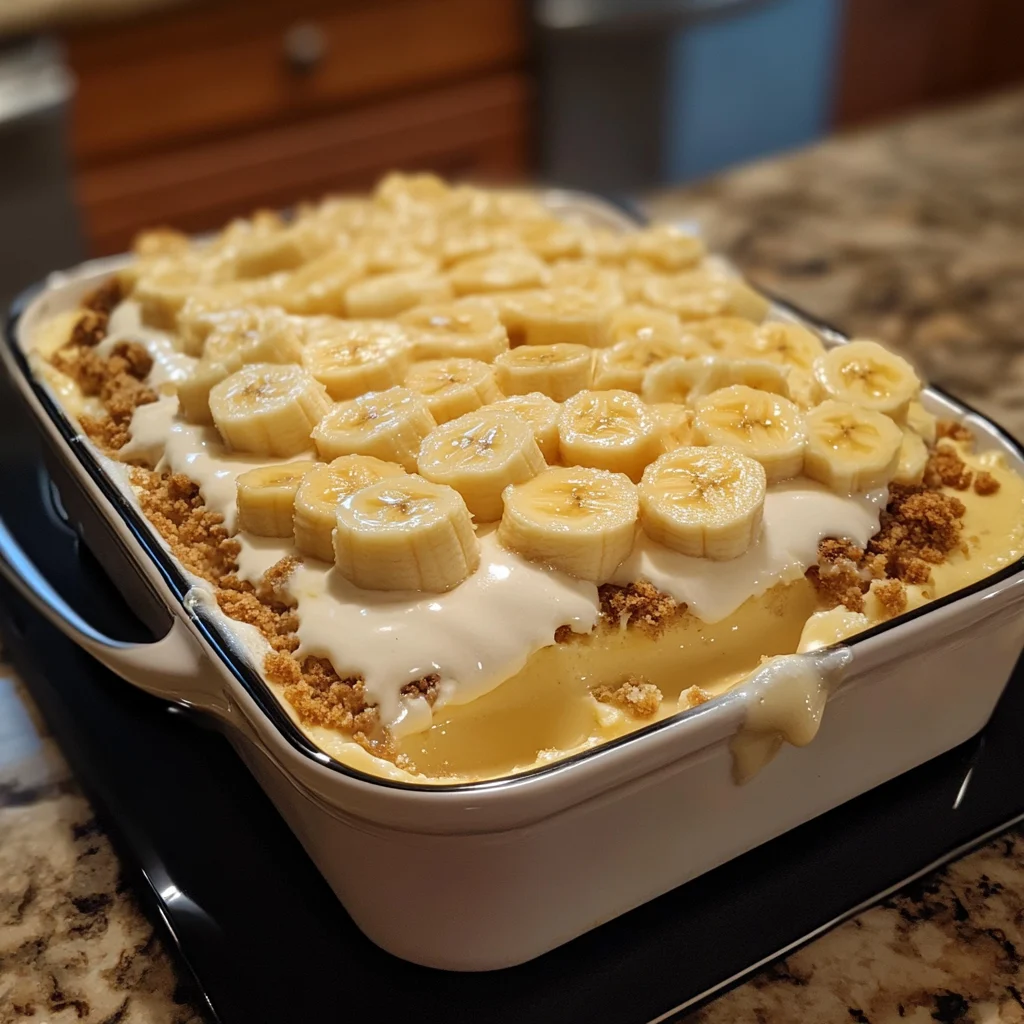
Description of this recipe: This Banana Cream Dream is a classic no-bake dessert that combines layers of sweet creaminess with the delightful crunch of cookies and the fresh taste of bananas. It’s incredibly easy to make and perfect for potlucks, family gatherings, or a simple weeknight treat.
Why you will love this recipe: This recipe is a winner for so many reasons! It requires no baking, making it ideal for hot summer days or when you’re short on time. The ingredients are readily available and affordable, and the layering technique creates a visually appealing and texturally satisfying dessert. Plus, the combination of flavors is simply irresistible: the sweet, creamy pudding blends perfectly with the ripe bananas and crunchy cookies. It’s a guaranteed crowd-pleaser that everyone will love.
Introduction
Banana Cream Dream is a dessert that brings back childhood memories for many. It’s the kind of dish your grandmother might have made, a simple yet incredibly satisfying treat that’s perfect for any occasion. The beauty of this recipe lies in its simplicity – no baking required! It’s a layering process that combines creamy, dreamy textures with the satisfying crunch of cookies and the natural sweetness of bananas. This recipe is also incredibly versatile. You can customize it with different types of cookies, fruits, and even add-ins like chocolate shavings or chopped nuts. This Banana Cream Dream isn’t just a dessert; it’s an experience, a comforting hug in every bite. I often find myself making this for family gatherings, especially during the summer months when turning on the oven is the last thing I want to do. The best part? It’s always a hit! Kids and adults alike rave about its creamy texture and delicious flavor. So, if you’re looking for a fuss-free dessert that delivers big on taste, this Banana Cream Dream is the perfect choice. It’s a recipe that’s sure to become a staple in your dessert rotation, bringing joy and smiles to everyone who tries it.
Ingredients:
- 2 bags Pepperidge Farm Chessmen Cookies OR 2 bags Vanilla Wafers
- 6 to 8 bananas, sliced
- 2 cups whole milk
- 1 (5 oz.) box instant French Vanilla pudding
- 1 (8 oz.) package cream cheese, softened
- 1 (14 oz.) can sweetened condensed milk
- 1 (12 oz.) container frozen whipped topping, thawed, or an equal amount of sweetened whipped cream
Preparation:
Step 1: Prepare the Base
Begin by grabbing a 13×9 inch dish. This size is perfect for accommodating all the delicious layers of our Banana Cream Dream. The first step is to create a sturdy and flavorful base. Open one bag of your chosen cookies – either Pepperidge Farm Chessmen or Vanilla Wafers – and begin lining the bottom of the dish. Arrange the cookies in a single layer, ensuring that the entire bottom surface is covered. This cookie layer will provide a delightful crunch that contrasts beautifully with the creamy filling to come. Don’t worry if you need to break a few cookies to fit them perfectly; the goal is to create a uniform base. Once the cookie layer is complete, grab your sliced bananas. Arrange the banana slices in a single, even layer on top of the cookies. Aim for a consistent thickness, as this will ensure that each bite has a perfect balance of banana flavor. The bananas add a touch of natural sweetness and a wonderful soft texture to the dessert.
Step 2: Mix the Pudding
Now, let’s move on to creating the creamy pudding layer. In a medium-sized bowl, pour in 2 cups of whole milk. The whole milk adds richness and helps create a smooth, creamy texture. Add the contents of the 5 oz. box of instant French Vanilla pudding to the milk. This instant pudding mix is a convenient way to achieve a delicious and consistent pudding base. Using a handheld electric mixer, begin blending the milk and pudding mixture on medium speed. Continue mixing until the mixture is well combined and starts to thicken. This usually takes about 2-3 minutes. Make sure there are no lumps and the pudding has a smooth, creamy consistency. This pudding mixture will serve as the foundation for our creamy filling. Once the pudding is ready, set the bowl aside while you prepare the next part of the filling.
Step 3: Prepare the Cream Cheese Mixture
In a separate bowl, we’ll create the rich and tangy cream cheese mixture. Start by adding the 8 oz. package of softened cream cheese to the bowl. Make sure the cream cheese is softened to room temperature before using it; this will ensure that it mixes smoothly and evenly. Add the 14 oz. can of sweetened condensed milk to the bowl with the cream cheese. The sweetened condensed milk adds a luscious sweetness and helps create a velvety texture. Using the electric mixer again, beat the cream cheese and sweetened condensed milk together on medium speed until the mixture is smooth and creamy. Continue mixing for about 3-4 minutes, scraping down the sides of the bowl as needed to ensure that all the ingredients are fully incorporated. The result should be a silky, decadent cream cheese mixture that is ready to be combined with the pudding.
Step 4: Fold in the Whipped Topping
This step is crucial for achieving the light and airy texture of our Banana Cream Dream. Grab your thawed whipped topping and gently add it to the cream cheese mixture. If you’re using sweetened whipped cream instead of the frozen whipped topping, make sure it is well whipped to achieve the desired lightness. Using a rubber spatula, gently fold the whipped topping into the cream cheese mixture. Be careful not to overmix; you want to maintain the light and airy texture of the whipped topping. Overmixing can cause the whipped topping to deflate, resulting in a denser filling. Continue folding until the whipped topping is just incorporated and the mixture is uniform in color and texture. This step combines the creaminess of the cream cheese with the fluffy texture of the whipped topping, creating a decadent and smooth filling that will melt in your mouth.
Step 5: Combine the Mixtures
Now it’s time to bring all the components together to create the final creamy layer. Carefully add the cream cheese mixture to the bowl with the pudding mixture. Gently stir these two mixtures together until they are fully combined and smooth. Make sure there are no streaks of cream cheese or pudding; the mixture should be uniform in color and texture. This final creamy layer will be poured over the cookies and bananas, creating a luscious and decadent base for the remaining toppings.
Step 6: Assemble the Dessert
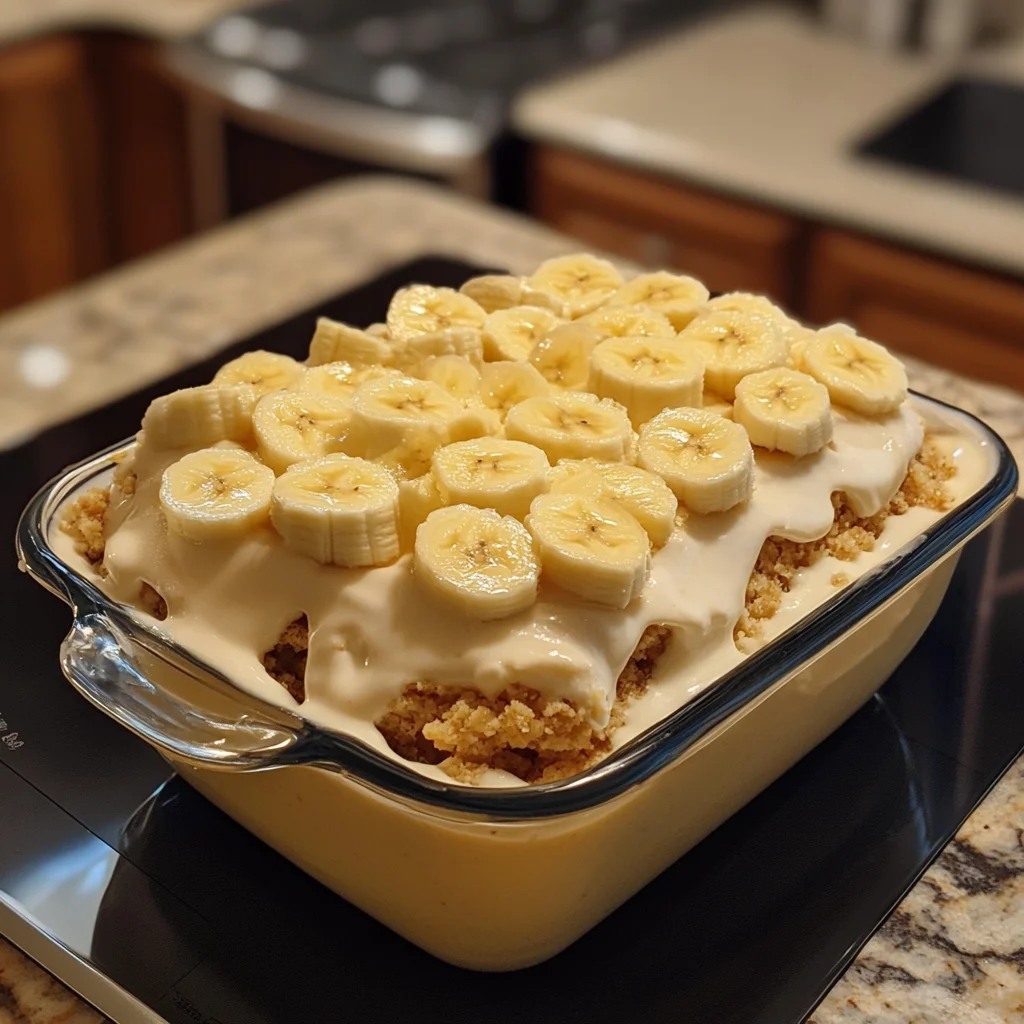
Carefully pour the creamy mixture over the layer of bananas and cookies in the dish. Use a spatula to spread it evenly, ensuring that it covers the entire surface. This even distribution is important for ensuring that every bite of the dessert is equally delicious. Once the filling is evenly distributed, grab the remaining cookies from the second bag. Arrange the cookies on top of the creamy filling, creating another layer of delightful crunch. You can arrange the cookies in rows or create a more decorative pattern, depending on your preference. The cookies on top will not only provide a satisfying texture but also make the dessert visually appealing.
Step 7: Chill and Serve
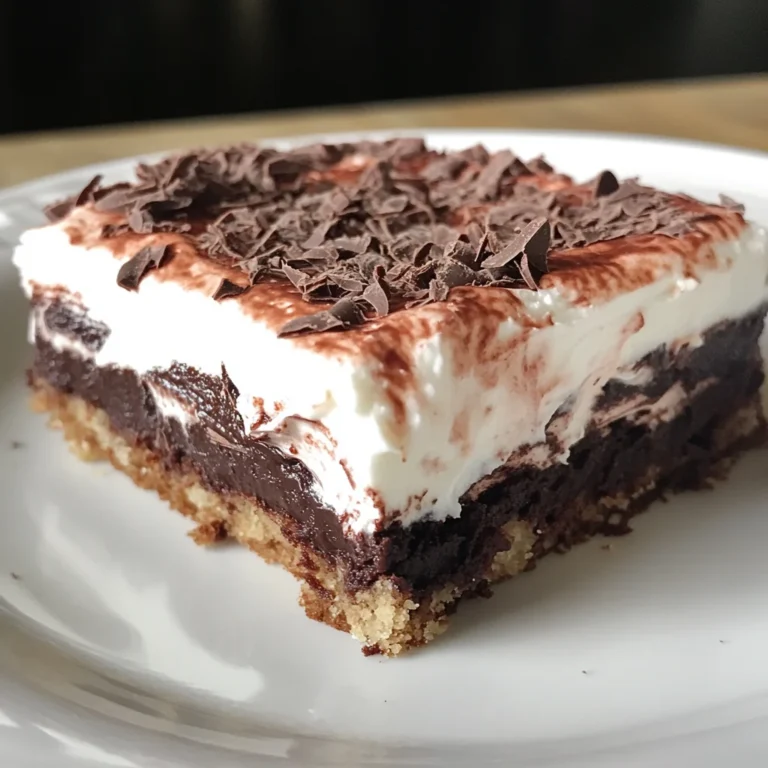
The final step is to refrigerate the assembled dessert for at least a few hours, or preferably overnight. Chilling allows the flavors to meld together and the layers to set properly. This waiting period is essential for achieving the perfect texture and flavor balance. Once the dessert has chilled, it’s ready to be served! Cut into squares and enjoy! The result is a dessert that is cool, creamy, and bursting with flavor, a true Banana Cream Dream.
COOKING Rating:
Ease of Preparation: 5/5 (Very Easy) Taste: 5/5 (Excellent) Visual Appeal: 4/5 (Attractive) Overall: 5/5 (Highly Recommended)
Serving Suggestions:
- Serve chilled, straight from the refrigerator.
- Garnish with extra banana slices, a sprinkle of crushed cookies, or chocolate shavings.
- Serve with a dollop of whipped cream or a scoop of vanilla ice cream for an extra decadent treat.
- Pair with a cup of coffee or tea for a delightful afternoon snack.
- Cut into smaller squares for a party or potluck setting.
Tips:
- Make sure the cream cheese is softened to room temperature for a smooth and creamy mixture.
- Don’t overmix the whipped topping, as this can cause it to deflate.
- Chilling the dessert for at least a few hours is crucial for the flavors to meld together and the layers to set.
- For a richer flavor, use vanilla extract in the cream cheese mixture.
- Get creative with the toppings! Add chopped nuts, chocolate chips, or a drizzle of caramel sauce.
Prep Time:
20 minutes
Cook Time:
0 minutes (no baking required!)
Total Time:
20 minutes preparation + at least 3 hours chilling time
Nutritional Information (per serving, estimated):
- Calories: 350-400
- Protein: 5-7 grams
- Sodium: 200-250 mg
Note: Nutritional information is an estimate and may vary based on specific ingredients and portion sizes.
Conclusion
The Banana Cream Dream is more than just a dessert; it’s a celebration of simple pleasures and shared moments. Its ease of preparation, combined with its irresistible flavor and comforting texture, makes it a perfect choice for any occasion. Whether you’re making it for a special celebration or just a casual weeknight treat, this recipe is sure to bring joy and smiles to everyone who tries it. The combination of creamy, sweet layers and satisfying crunch is a true crowd-pleaser, making it a beloved favorite for generations. So, gather your ingredients, follow the simple steps, and prepare to indulge in a truly delightful Banana Cream Dream experience.
Questions and Answers:
Q1: Can I make this dessert ahead of time?
A: Absolutely! In fact, this dessert is even better when made ahead of time. Chilling it in the refrigerator for at least 3 hours, or preferably overnight, allows the flavors to meld together and the layers to set properly. This results in a more cohesive and flavorful dessert.
Q2: Can I substitute the cookies with something else?
A: Yes, you can! While Pepperidge Farm Chessmen or Vanilla Wafers are the traditional choices, you can definitely experiment with other types of cookies. Graham crackers, crushed Oreos, or even shortbread cookies would work well. Just make sure the cookies are relatively sturdy so they can hold their shape in the dessert.
Q3: I don’t have instant French Vanilla pudding. Can I use another flavor?
A: Of course! While French Vanilla is a classic choice, you can use other flavors of instant pudding, such as vanilla, banana cream, or even butterscotch. The key is to choose a flavor that complements the bananas and cookies. Feel free to experiment and find your favorite combination.
Q4: Can I use a different type of milk?
A: Yes, you can substitute the whole milk with other types of milk, such as almond milk, coconut milk, or soy milk. Just keep in mind that using a non-dairy milk may slightly alter the flavor and texture of the dessert. Choose an unsweetened variety to avoid adding extra sweetness.
Q5: What’s the best way to store leftovers?
A: Leftover Banana Cream Dream should be stored in an airtight container in the refrigerator. It will keep for up to 3 days. However, the bananas may start to brown slightly after a day or two, so it’s best to consume it as soon as possible for the best flavor and texture.
Paula Deen’s Banana Pudding
Ingredients
- 2 bags Pepperidge Farm Chessmen Cookies OR 2 bags Vanilla Wafers
- 6 to 8 bananas sliced
- 2 cups whole milk
- 1 5 oz. box instant French Vanilla pudding
- 1 8 oz. package cream cheese, softened
- 1 14 oz. can sweetened condensed milk
- 1 12 oz. container frozen whipped topping, thawed, or an equal amount of sweetened whipped cream
Instructions
- Step 1: Prepare the Base
- Begin by grabbing a 13×9 inch dish. This size is perfect for accommodating all the delicious layers of our Banana Cream Dream. The first step is to create a sturdy and flavorful base. Open one bag of your chosen cookies – either Pepperidge Farm Chessmen or Vanilla Wafers – and begin lining the bottom of the dish. Arrange the cookies in a single layer, ensuring that the entire bottom surface is covered. This cookie layer will provide a delightful crunch that contrasts beautifully with the creamy filling to come. Don’t worry if you need to break a few cookies to fit them perfectly; the goal is to create a uniform base. Once the cookie layer is complete, grab your sliced bananas. Arrange the banana slices in a single, even layer on top of the cookies. Aim for a consistent thickness, as this will ensure that each bite has a perfect balance of banana flavor. The bananas add a touch of natural sweetness and a wonderful soft texture to the dessert.
- Step 2: Mix the Pudding
- Now, let’s move on to creating the creamy pudding layer. In a medium-sized bowl, pour in 2 cups of whole milk. The whole milk adds richness and helps create a smooth, creamy texture. Add the contents of the 5 oz. box of instant French Vanilla pudding to the milk. This instant pudding mix is a convenient way to achieve a delicious and consistent pudding base. Using a handheld electric mixer, begin blending the milk and pudding mixture on medium speed. Continue mixing until the mixture is well combined and starts to thicken. This usually takes about 2-3 minutes. Make sure there are no lumps and the pudding has a smooth, creamy consistency. This pudding mixture will serve as the foundation for our creamy filling. Once the pudding is ready, set the bowl aside while you prepare the next part of the filling.
- Step 3: Prepare the Cream Cheese Mixture
- In a separate bowl, we’ll create the rich and tangy cream cheese mixture. Start by adding the 8 oz. package of softened cream cheese to the bowl. Make sure the cream cheese is softened to room temperature before using it; this will ensure that it mixes smoothly and evenly. Add the 14 oz. can of sweetened condensed milk to the bowl with the cream cheese. The sweetened condensed milk adds a luscious sweetness and helps create a velvety texture. Using the electric mixer again, beat the cream cheese and sweetened condensed milk together on medium speed until the mixture is smooth and creamy. Continue mixing for about 3-4 minutes, scraping down the sides of the bowl as needed to ensure that all the ingredients are fully incorporated. The result should be a silky, decadent cream cheese mixture that is ready to be combined with the pudding.
- Step 4: Fold in the Whipped Topping
- This step is crucial for achieving the light and airy texture of our Banana Cream Dream. Grab your thawed whipped topping and gently add it to the cream cheese mixture. If you’re using sweetened whipped cream instead of the frozen whipped topping, make sure it is well whipped to achieve the desired lightness. Using a rubber spatula, gently fold the whipped topping into the cream cheese mixture. Be careful not to overmix; you want to maintain the light and airy texture of the whipped topping. Overmixing can cause the whipped topping to deflate, resulting in a denser filling. Continue folding until the whipped topping is just incorporated and the mixture is uniform in color and texture. This step combines the creaminess of the cream cheese with the fluffy texture of the whipped topping, creating a decadent and smooth filling that will melt in your mouth.
- Step 5: Combine the Mixtures
- Now it’s time to bring all the components together to create the final creamy layer. Carefully add the cream cheese mixture to the bowl with the pudding mixture. Gently stir these two mixtures together until they are fully combined and smooth. Make sure there are no streaks of cream cheese or pudding; the mixture should be uniform in color and texture. This final creamy layer will be poured over the cookies and bananas, creating a luscious and decadent base for the remaining toppings.
- Step 6: Assemble the Dessert
- Carefully pour the creamy mixture over the layer of bananas and cookies in the dish. Use a spatula to spread it evenly, ensuring that it covers the entire surface. This even distribution is important for ensuring that every bite of the dessert is equally delicious. Once the filling is evenly distributed, grab the remaining cookies from the second bag. Arrange the cookies on top of the creamy filling, creating another layer of delightful crunch. You can arrange the cookies in rows or create a more decorative pattern, depending on your preference. The cookies on top will not only provide a satisfying texture but also make the dessert visually appealing.
- Step 7: Chill and Serve
- The final step is to refrigerate the assembled dessert for at least a few hours, or preferably overnight. Chilling allows the flavors to meld together and the layers to set properly. This waiting period is essential for achieving the perfect texture and flavor balance. Once the dessert has chilled, it’s ready to be served! Cut into squares and enjoy! The result is a dessert that is cool, creamy, and bursting with flavor, a true Banana Cream Dream.

